Learn how to create a payment using the Virtual Terminal in the Finix Dashboard.
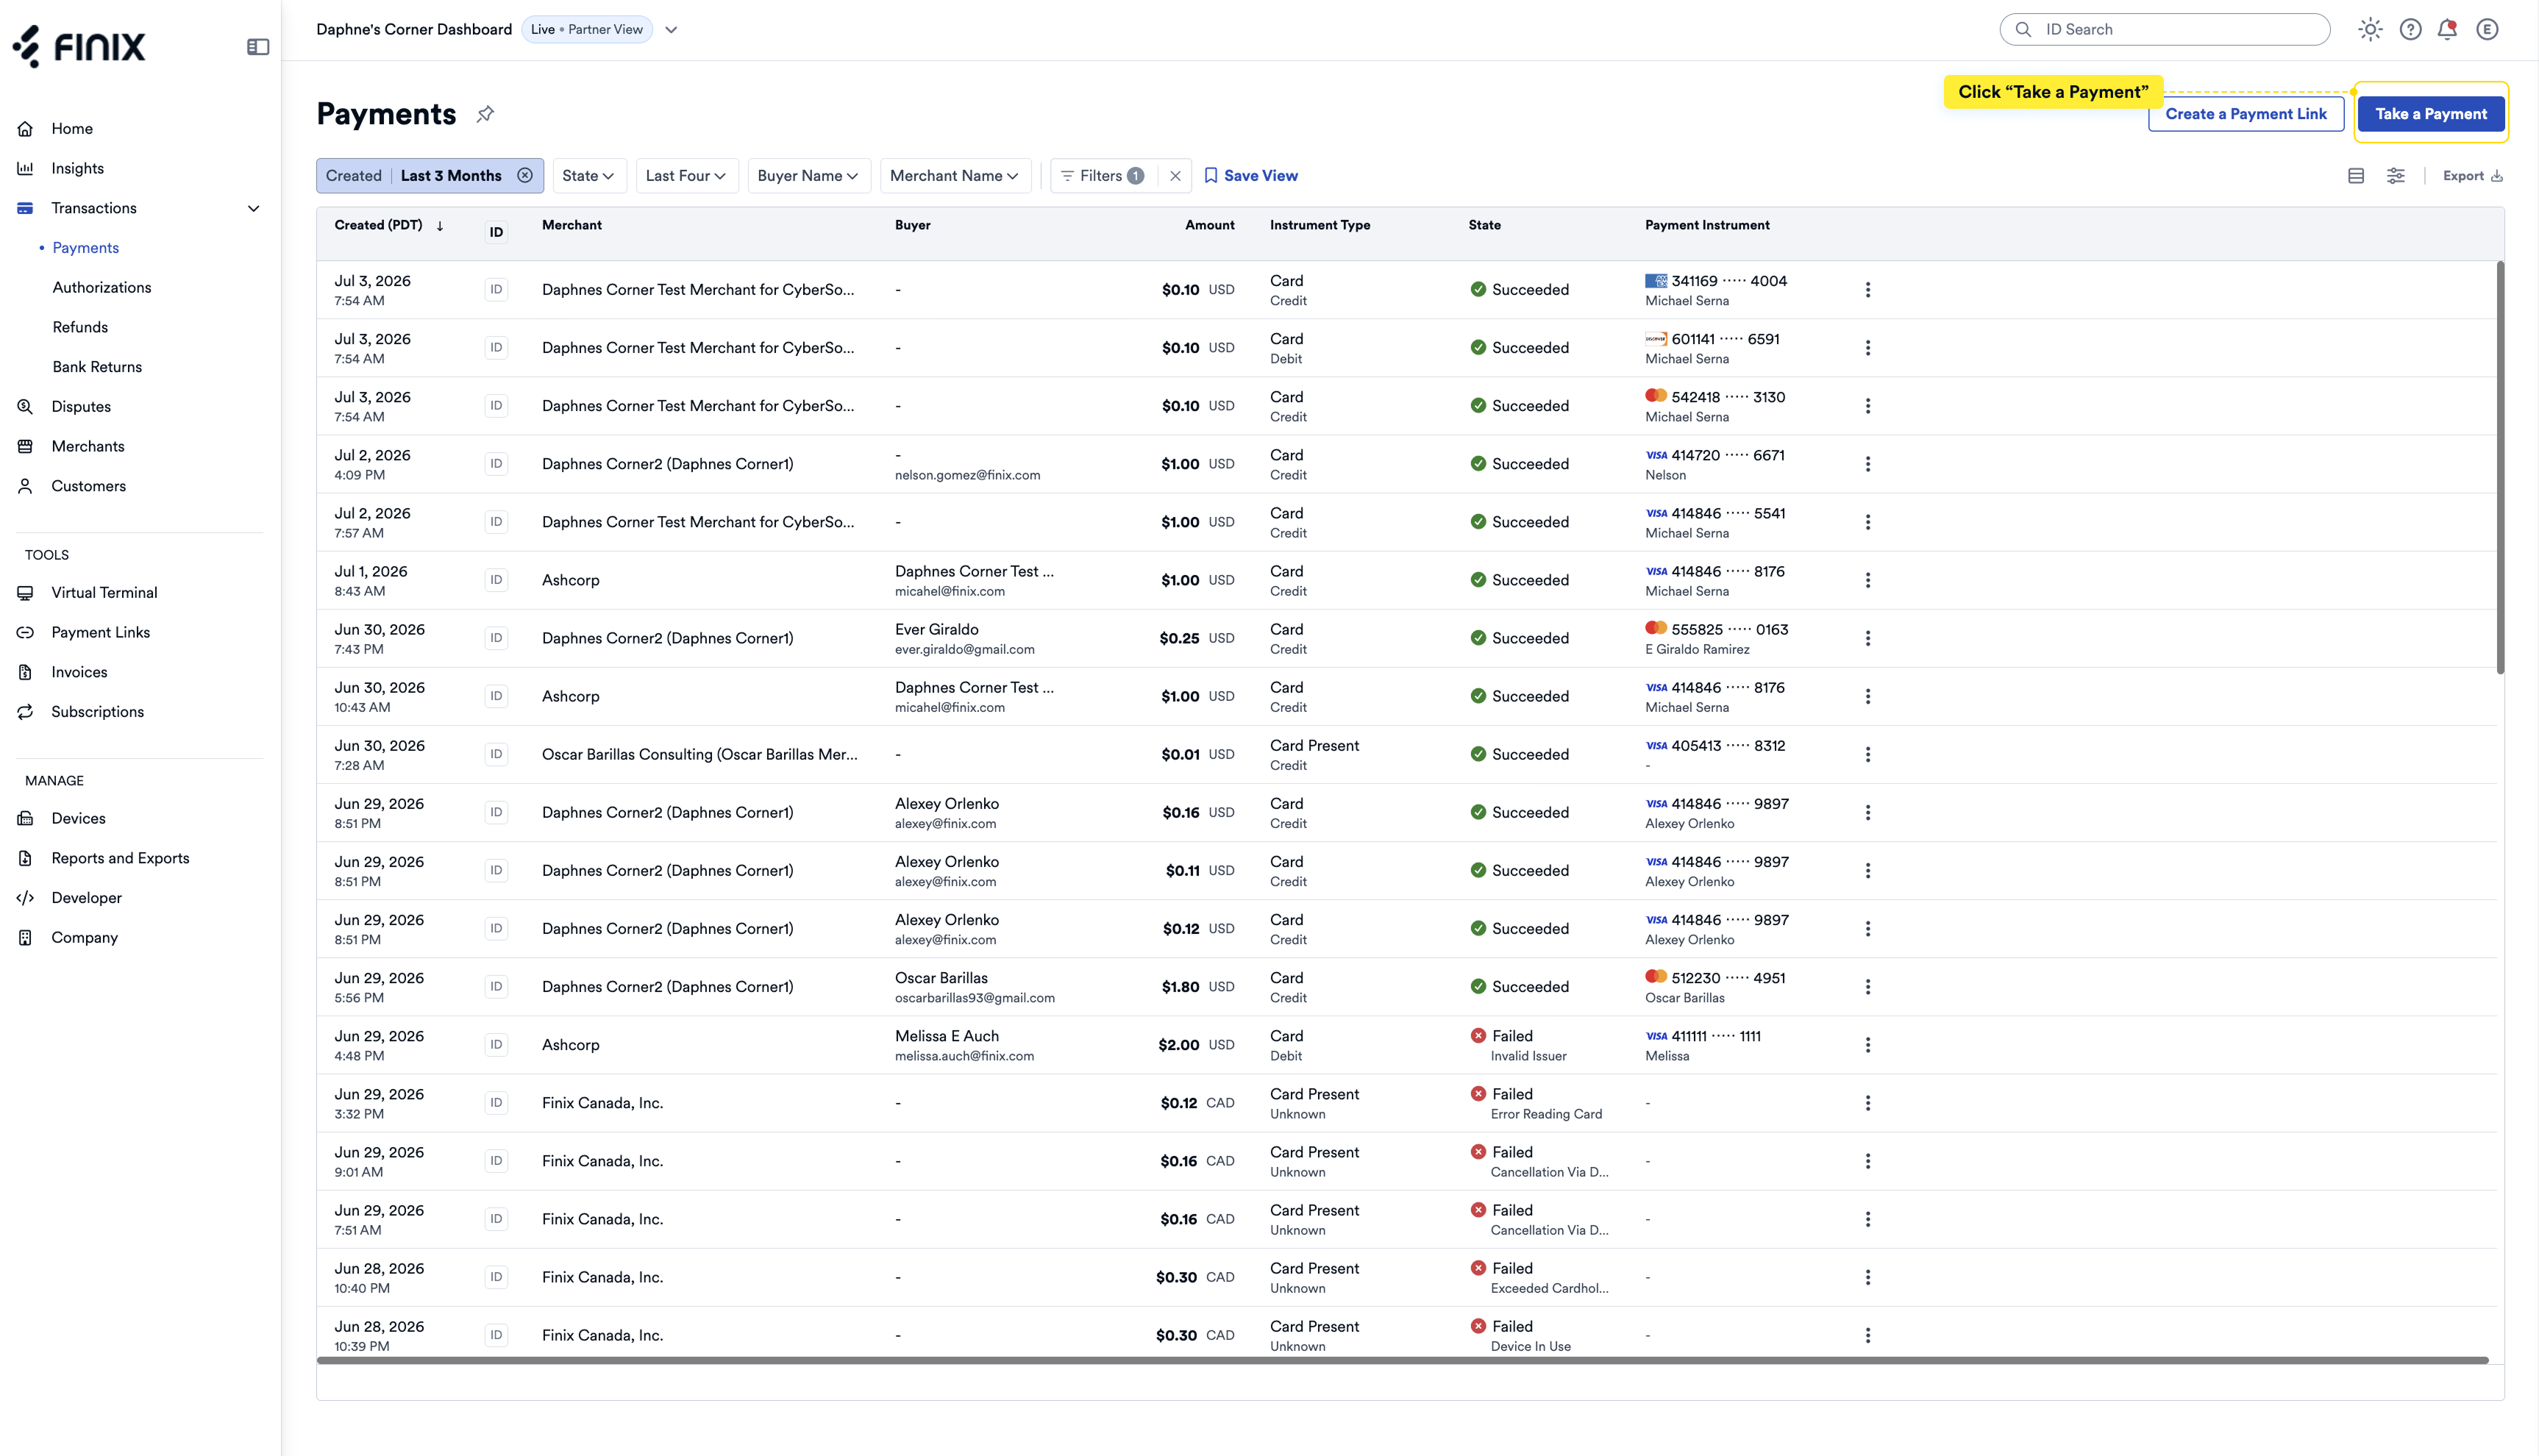
- From the left navigation, click Transactions > Payments.
- Click Take a Payment.
From the left navigation, click Tools > Virtual Terminal.
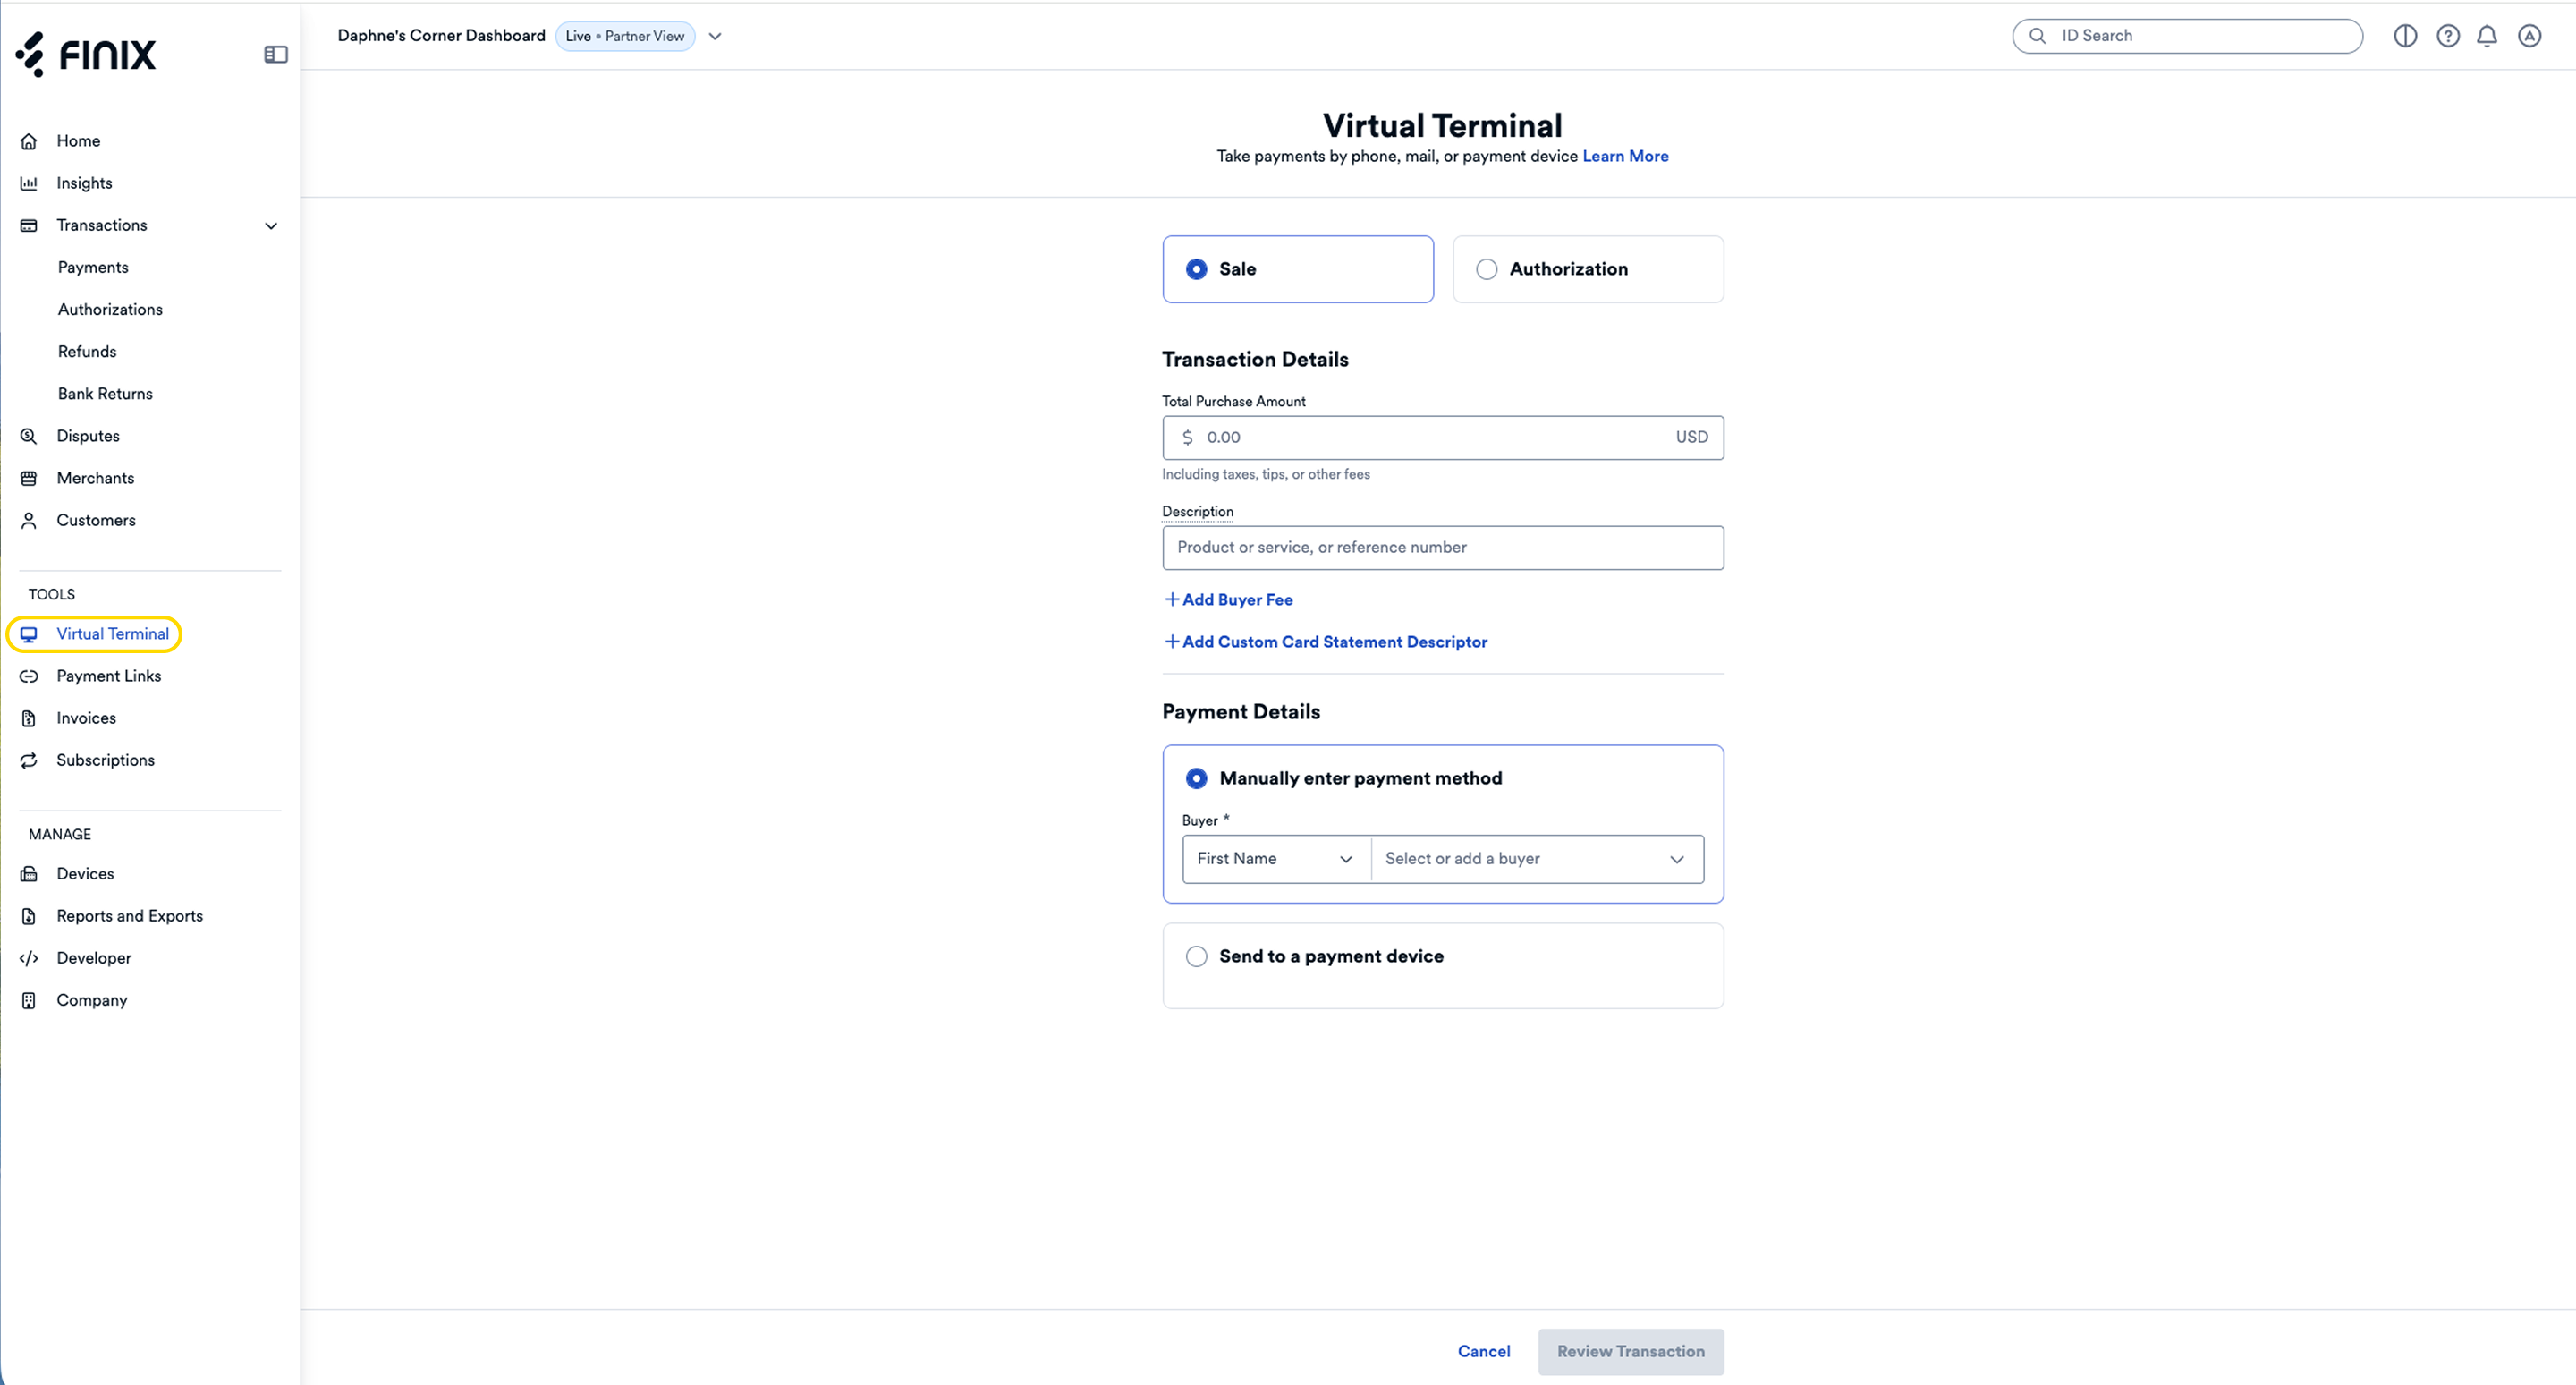
From the Virtual Terminal, you have the option to create a sale or authorization.
- Sale: A one-step transaction that immediately charges the buyer.
- Authorization: A two-step transaction that places a hold on funds, which you can later capture or void.
| Field | Description |
|---|---|
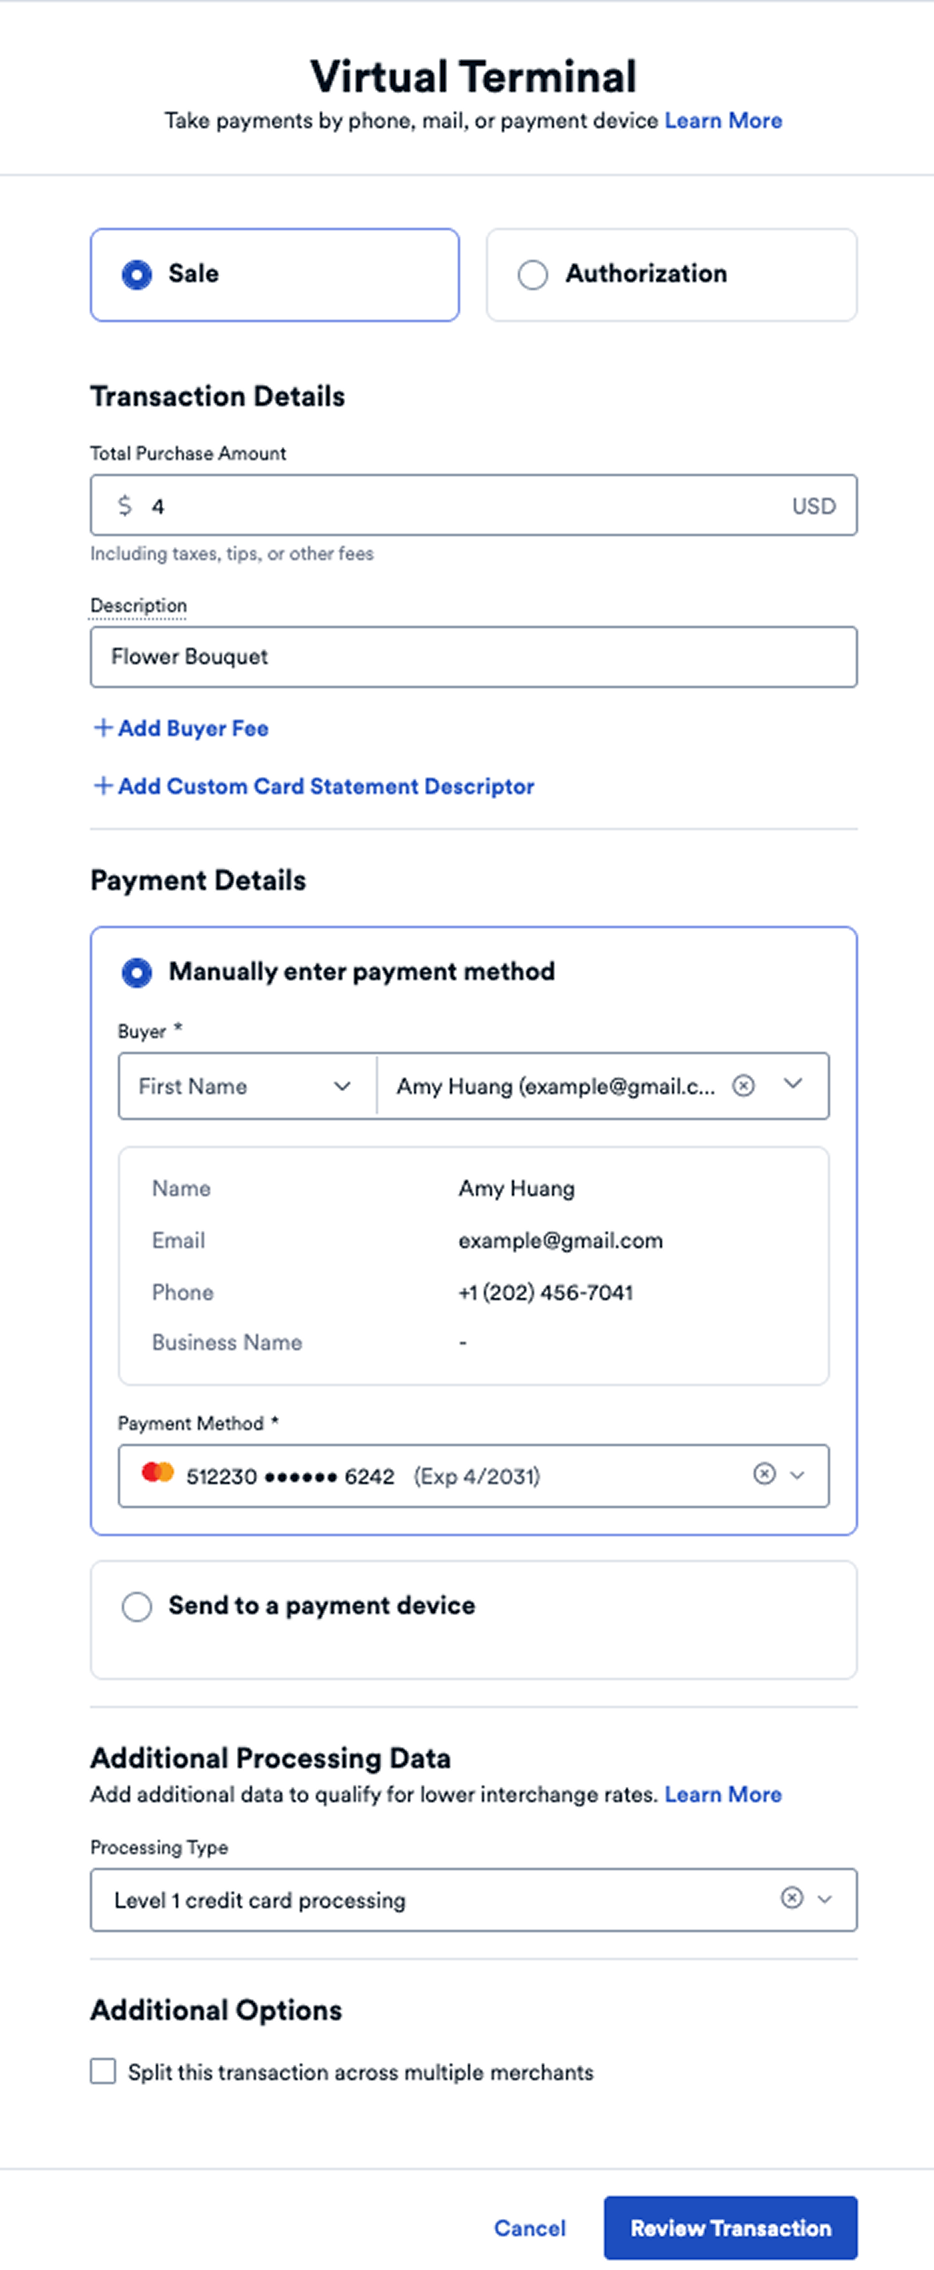
| Total Purchase Amount | The total amount charged to the buyer's debit or credit card, including taxes, tips, or other fees. |
| Description | Add any helpful details, such as order numbers or invoice information. |
Click +Add Buyer Fee to add a buyer fee to the transaction. You can choose from:
- Surcharge Fee: Enter a percentage up to 3%. Surcharge fees are only applied to credit cards. For more information, see Surcharge Fees.
- Convenience Fee: Enter a flat rate amount. For more information, see Convenience Fees.
Click Remove to remove the buyer fee.
Click +Custom Card Statement Descriptor to add a custom descriptor that appears on the buyer's card statement. The statement descriptor must be 1–20 characters long.
Click Remove to remove the statement descriptor.
Select how to collect the buyer's payment method:
| Option | Description |
|---|---|
| Manually Enter Payment Method | Select the buyer. If the buyer isn't listed, click Add New Buyer to enter their details. Then select the payment method to charge. You'll only see the first six and last four digits of the card number. If the buyer's card isn't shown, click Add a new payment method to add it. |
| Send to a Payment Device | Process the payment using a payment device. The device must be provisioned and have an open connection. See our in-person payments guides to learn how to set up a device. |
After selecting a payment method, you can add additional data to qualify for lower interchange rates. Select Level 1 (default), Level 2, or Level 3 processing. For more information, see Level 2 and Level 3 Processing.
- Split this transaction across multiple merchants (Optional): Tick this checkbox to split the transaction across multiple merchants. For more information, see Split Transactions.
Click Review Transaction when ready.
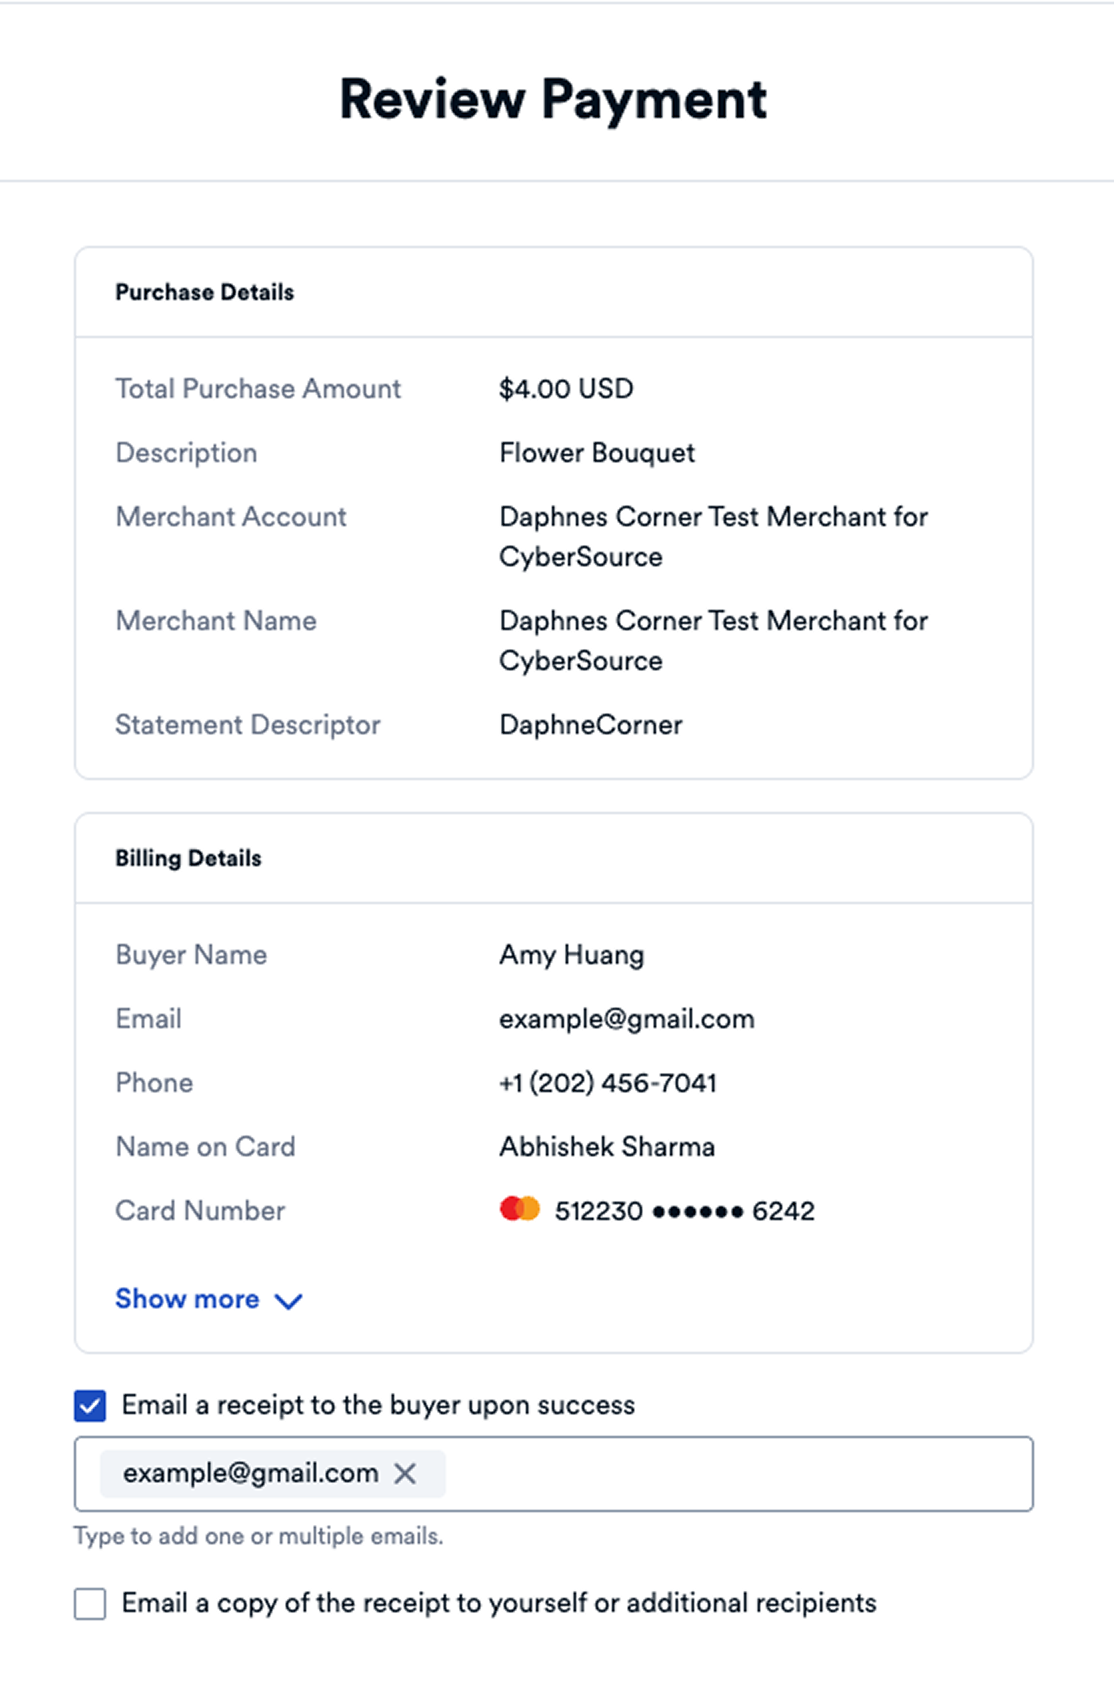
This applies if you selected "Manually enter the payment method" in Payment Details. If you selected "Send to a Payment Device", see the Using Payment Methods with the Virtual Terminal guide.
- Review the Purchase Details and Billing Details to confirm the transaction is correct.
- Choose to send a receipt to the buyer, to yourself, or both.
- Click Process Payment to complete the transaction.
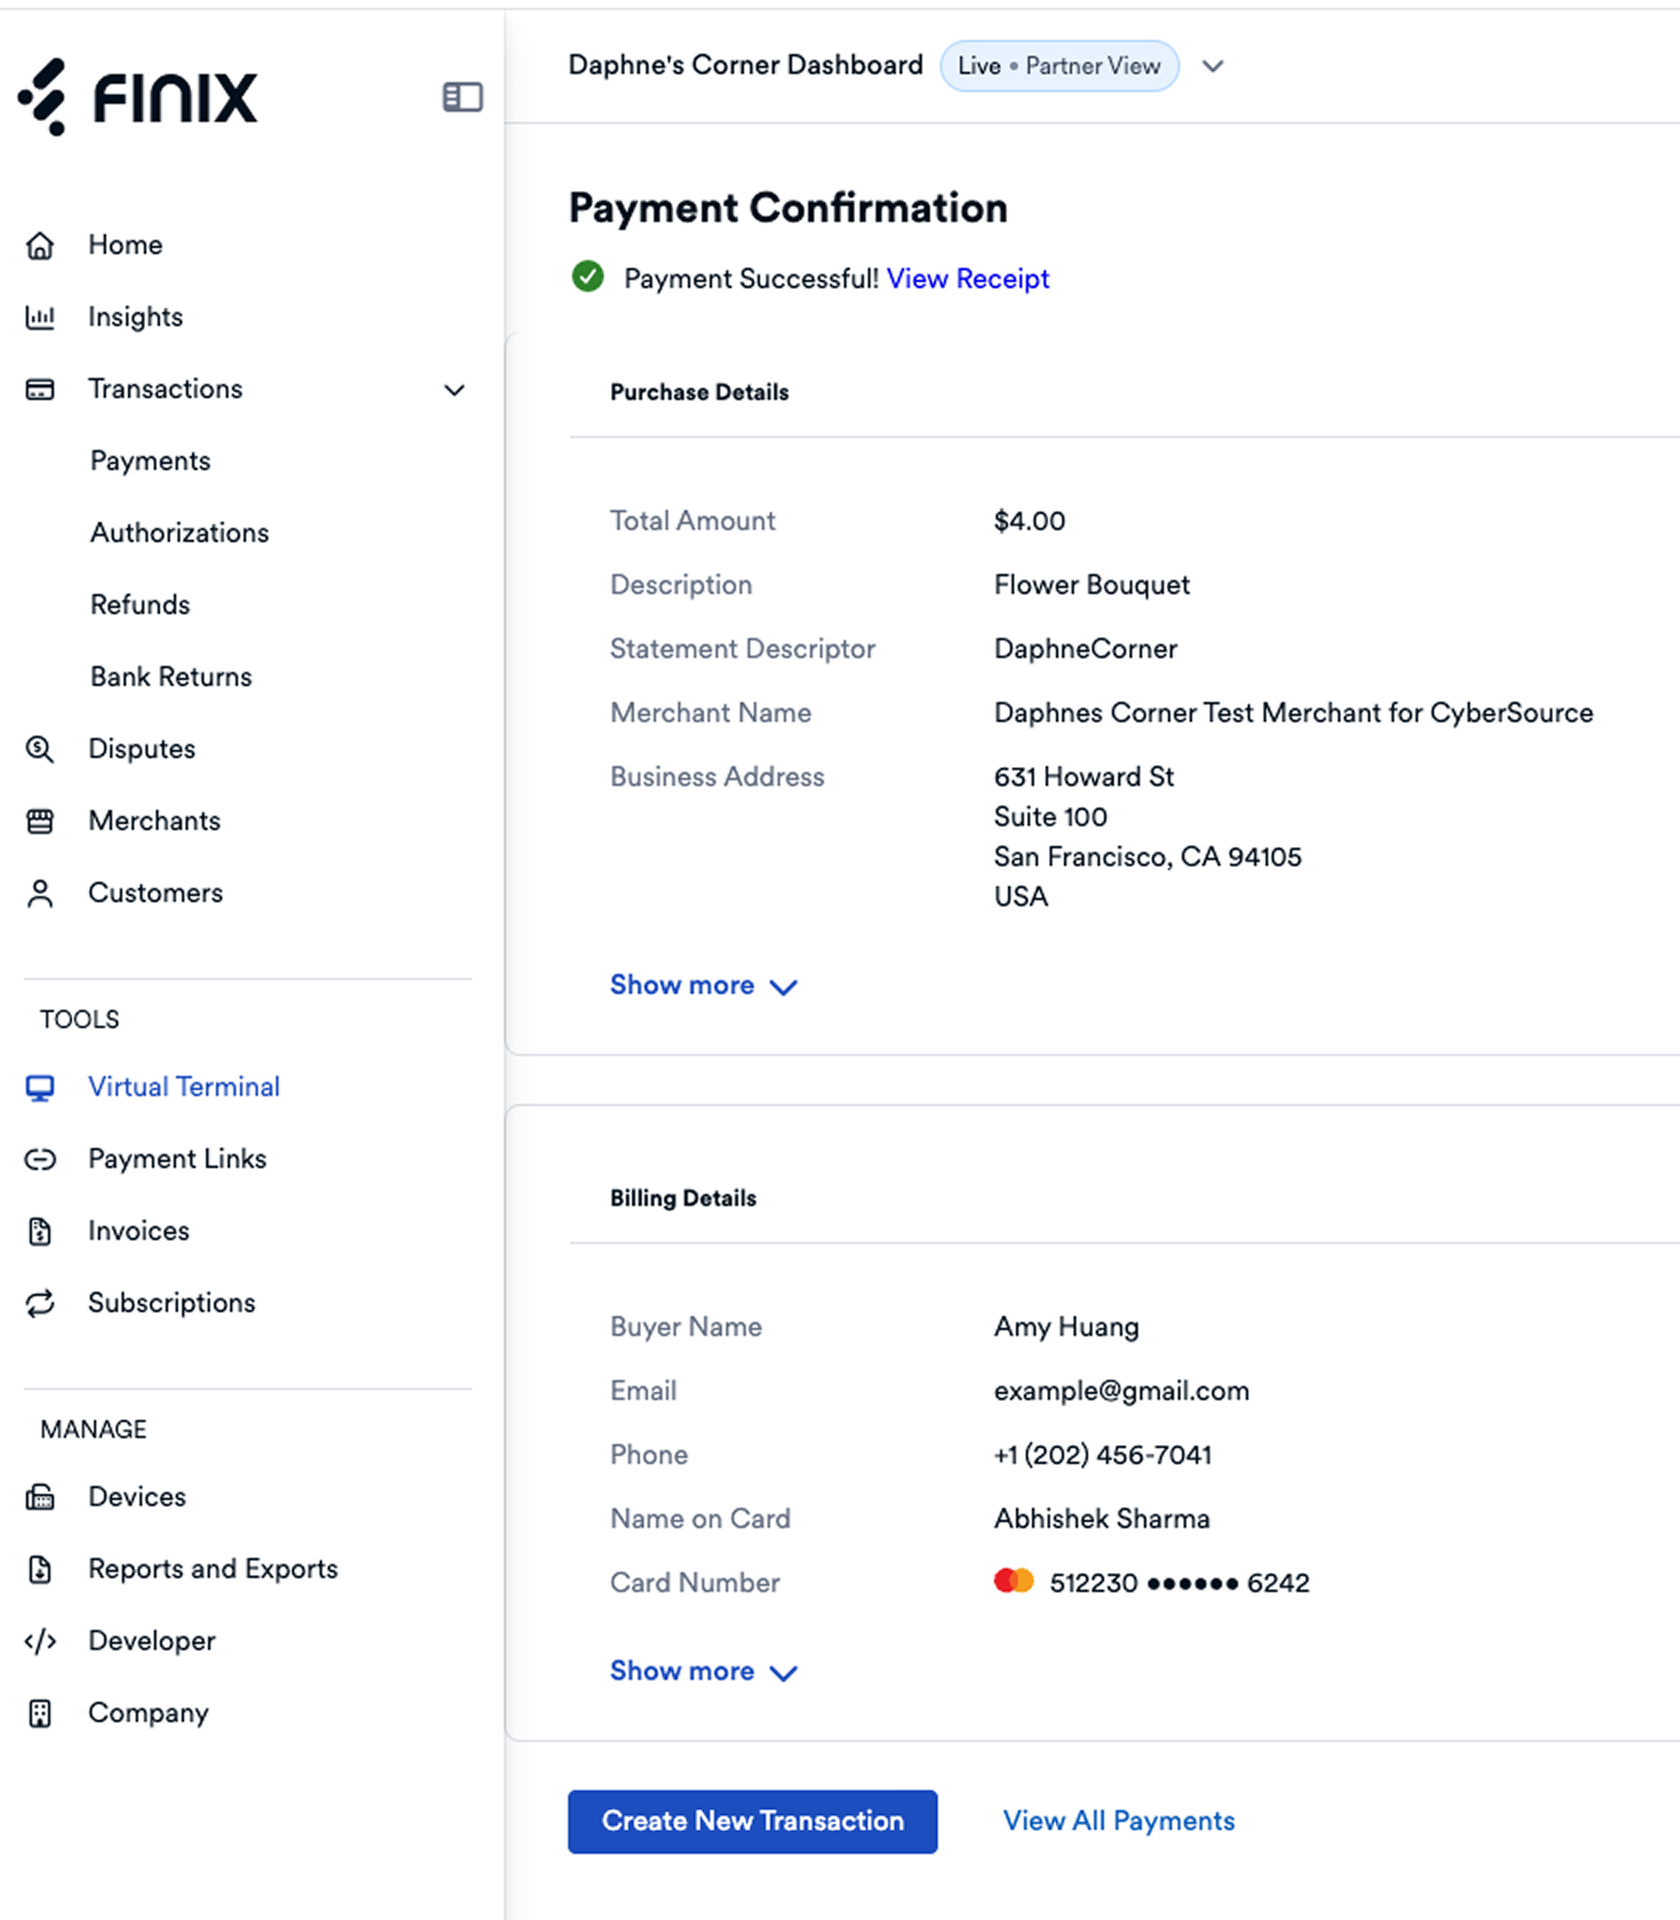
After submitting, a confirmation message appears.
- Use the Payment ID to manage the payment. The Payment ID is taken from the Transfer created to debit funds from the buyer.
- Click View Receipt to view and print payment details and to provide your buyer with a receipt.
- Click Create Another Transaction to take another payment.
- Click View All Payments to view all your payments.
You can manage the transaction from the Finix Dashboard.
- For sales, this helps view payment status and issue refunds.
- For authorizations, you can capture and void authorizations.