When processing a transaction using the Virtual terminal, you can process the payment by collecting the payment using a payment device rather than manually entering the payment method on the dashboard.
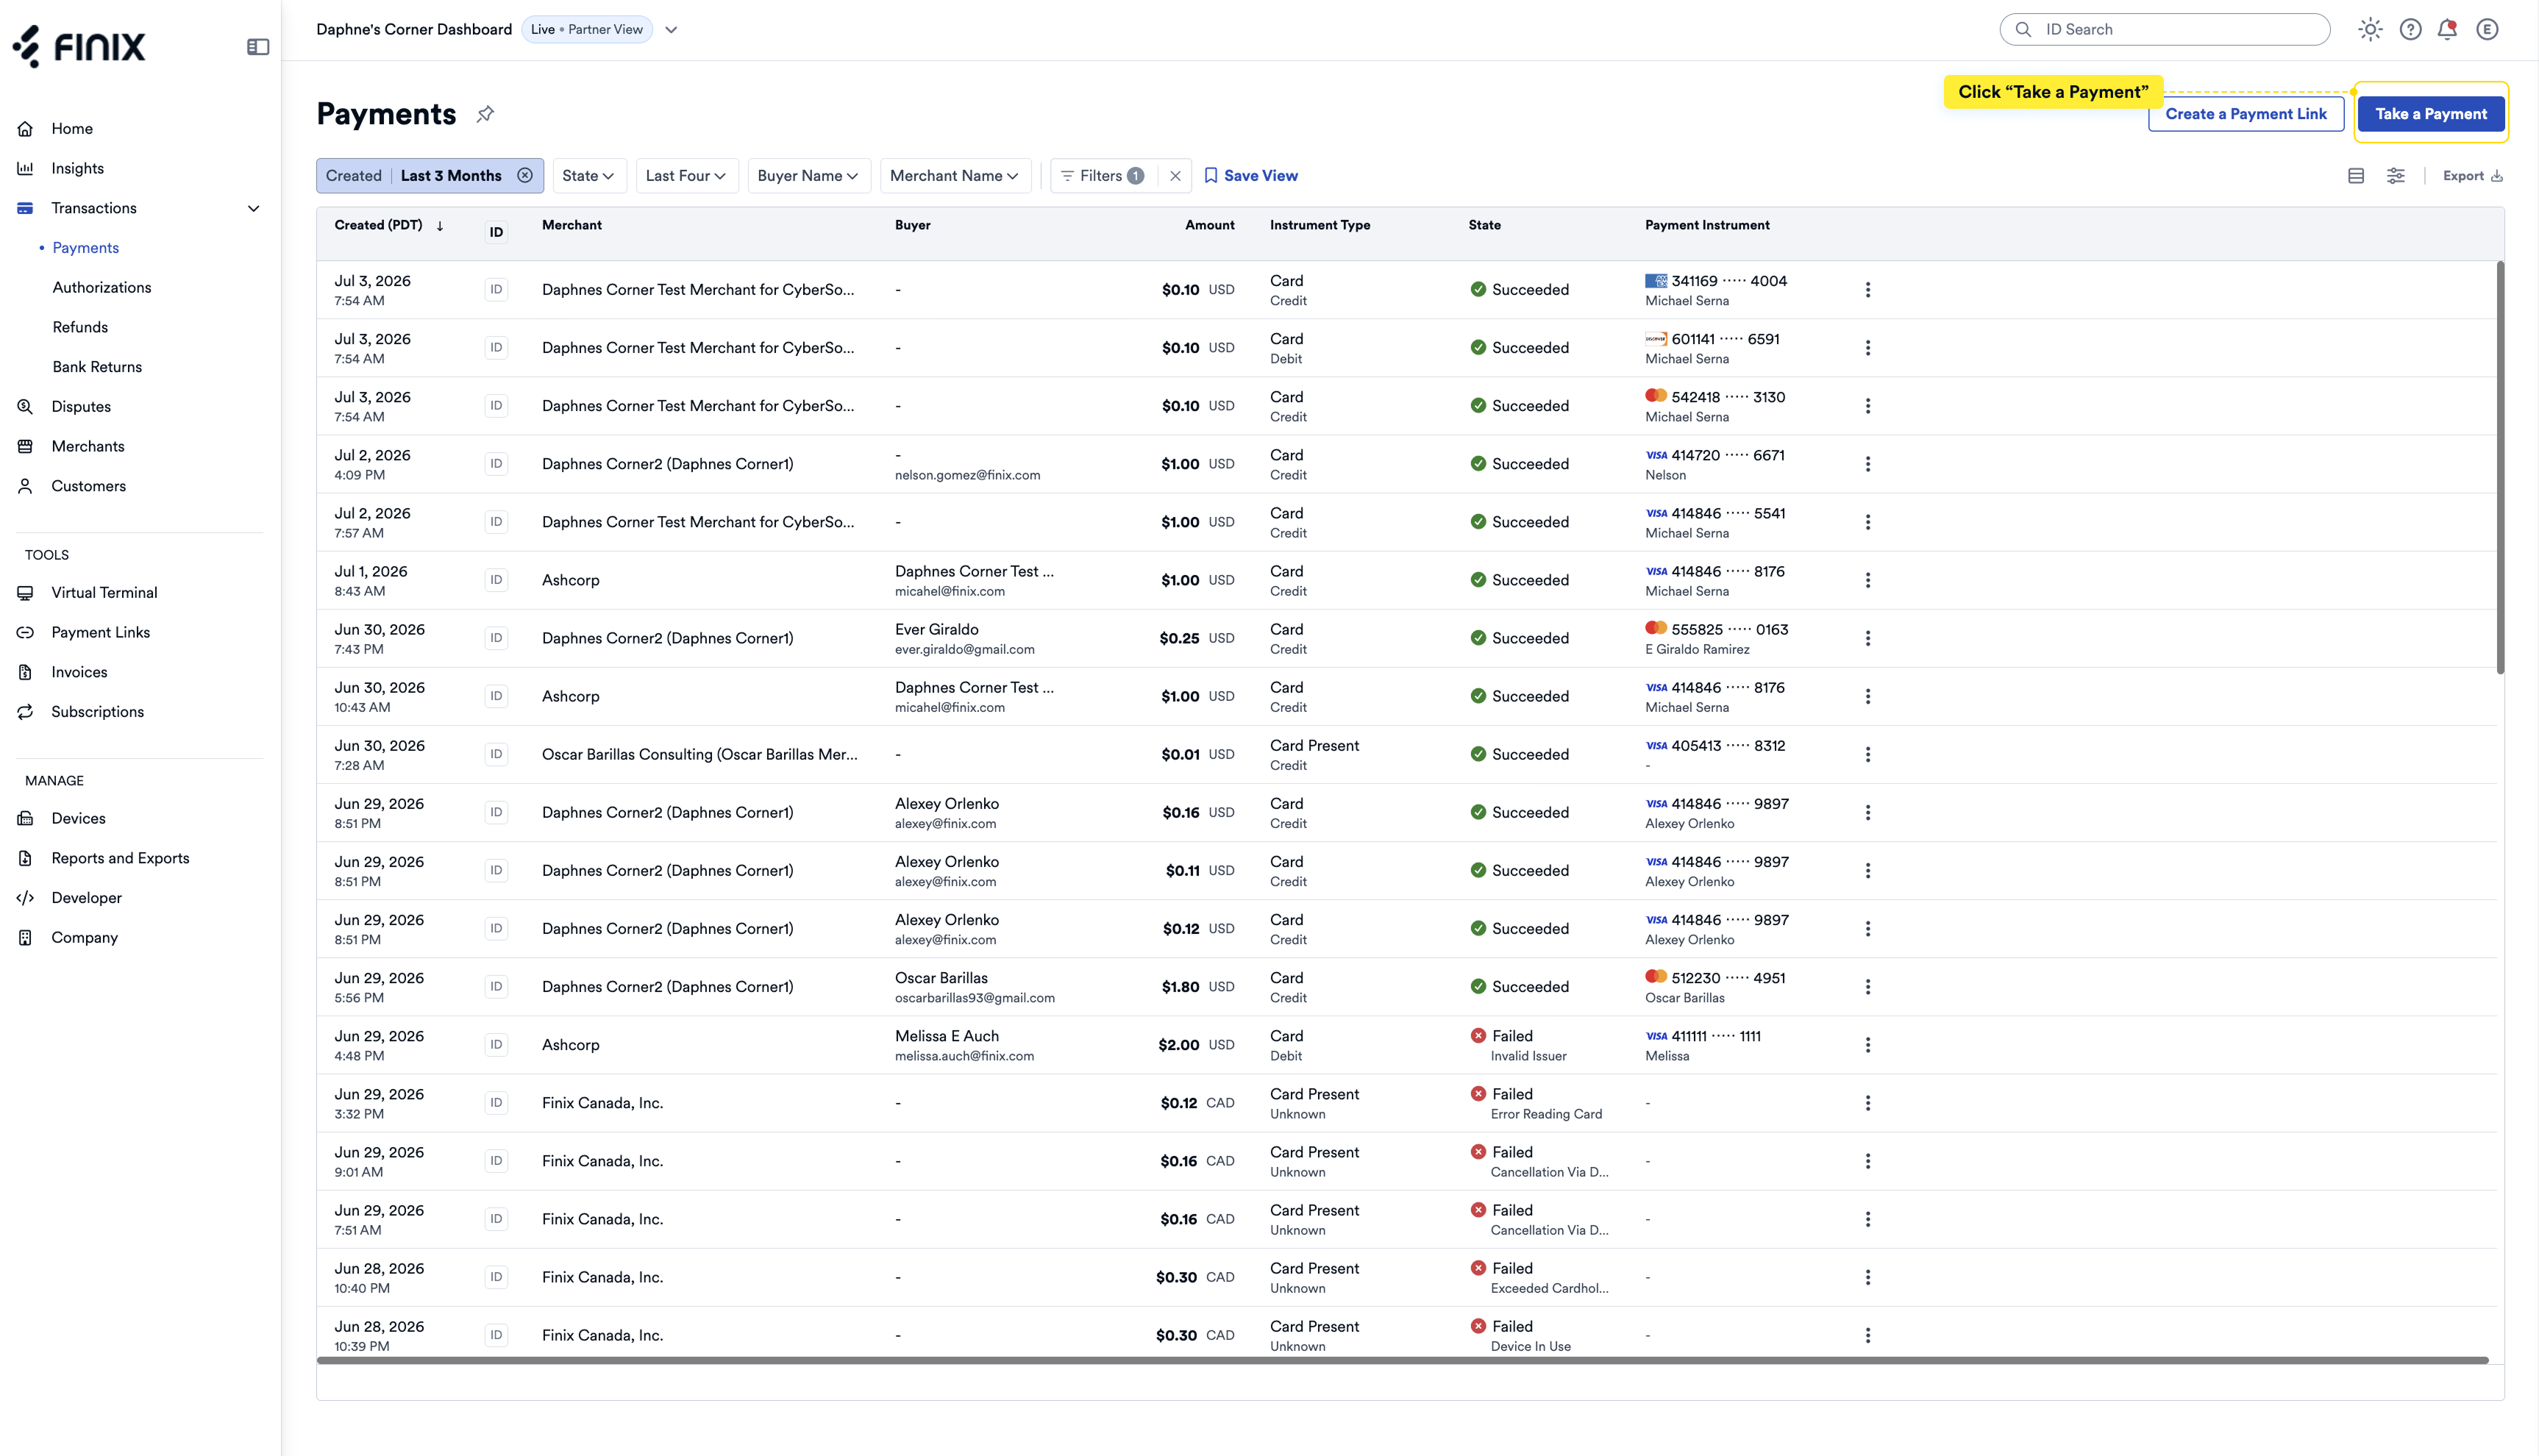
- From the left navigation, click Transactions > Payments.
- Click Take a Payment.
From the left navigation, click Tools > Virtual Terminal.
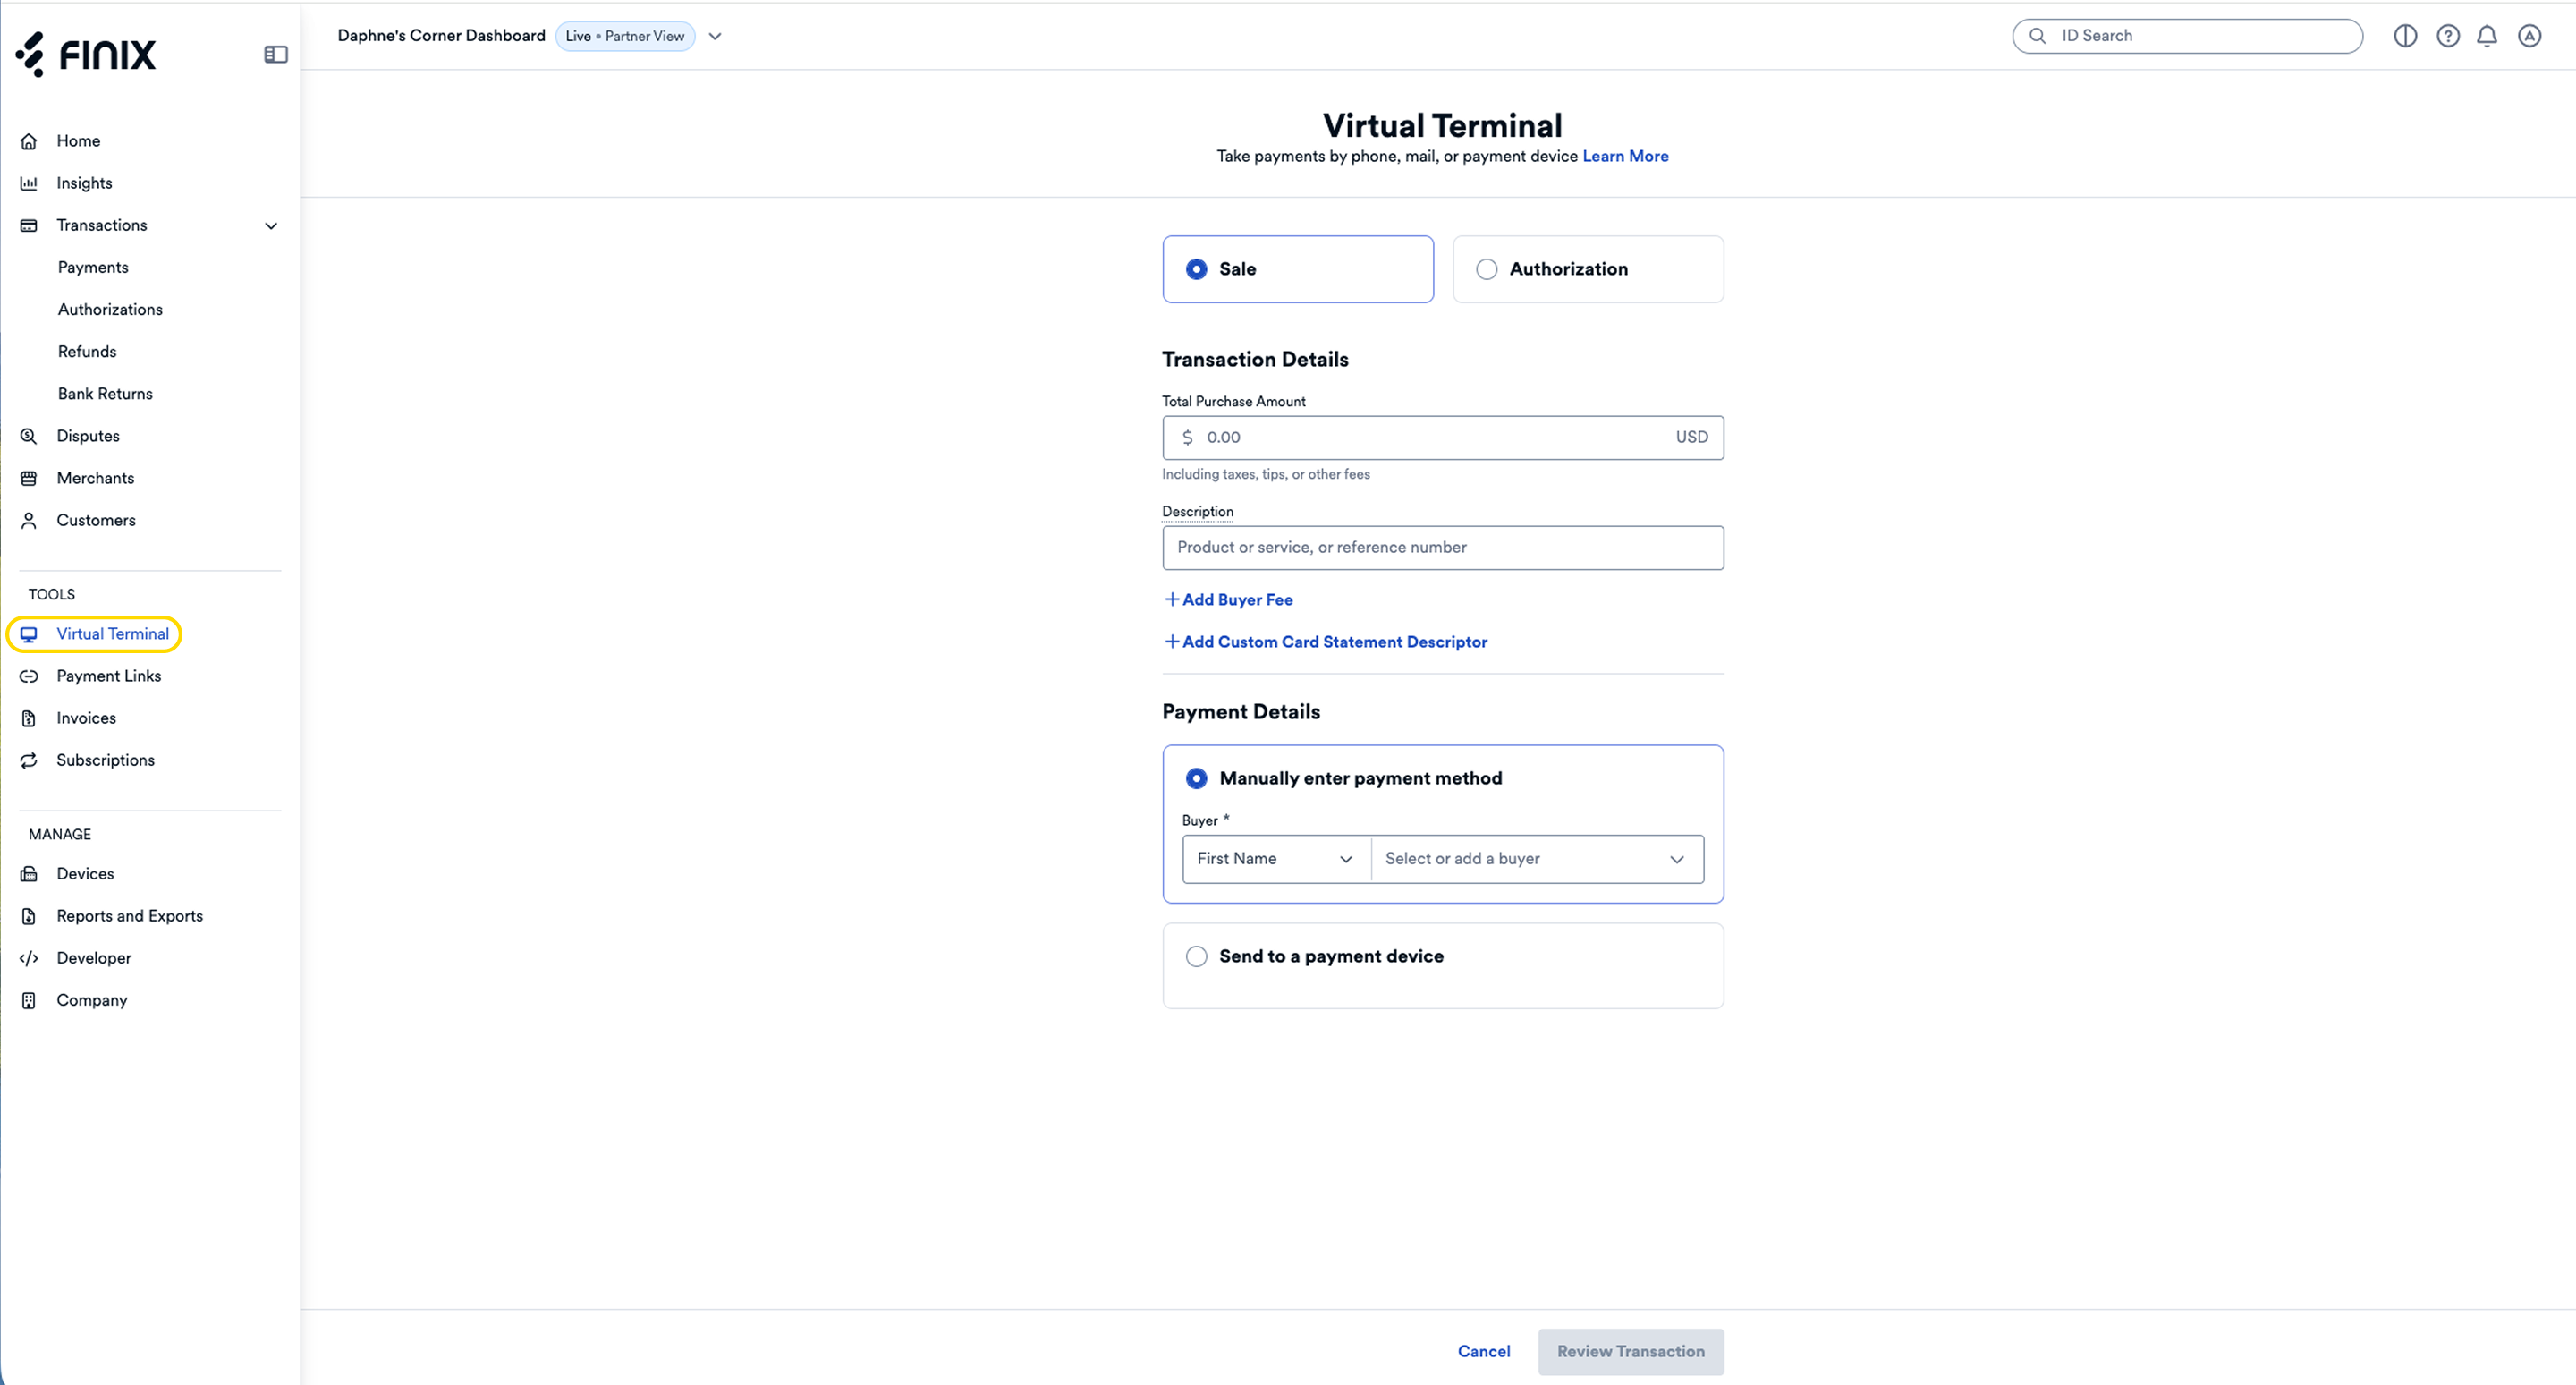
- Select whether to process a Sale or Authorization using the Virtual Terminal.
- Under Transaction Details, enter a Total Purchase Amount and a Description.
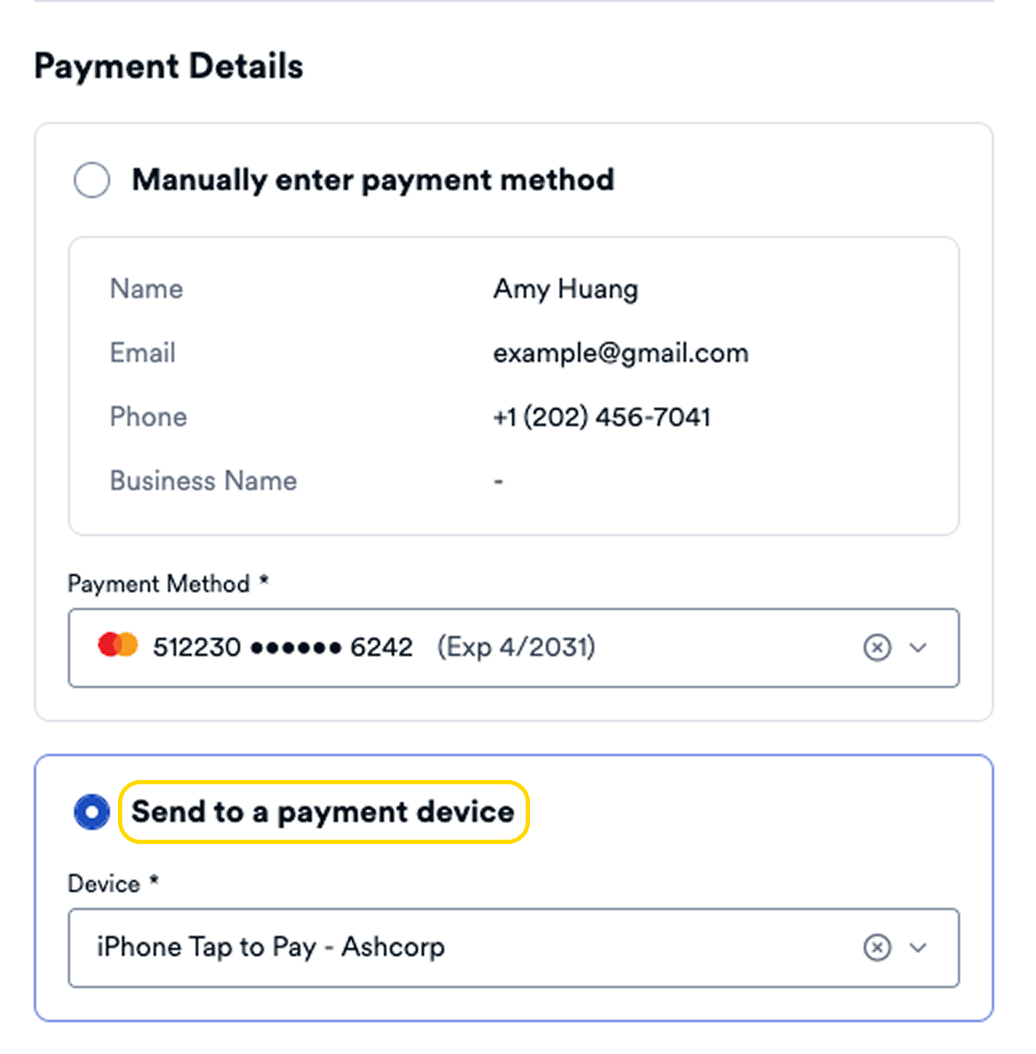
Under Transaction Details, select Send to a payment device.
Click Review Transaction.
- A Ready for payment message displays on the dashboard indicating that the device is ready for a card tap, swipe, or dip.
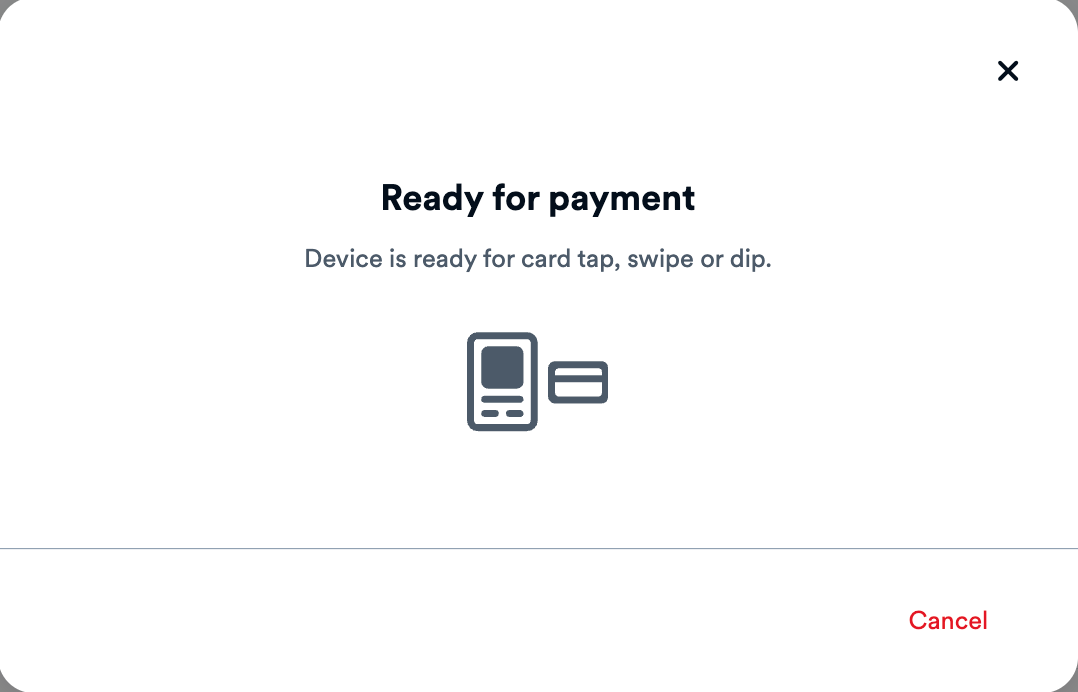
On the payment device, a prompt displays asking the buyer to tap, insert, or swipe their card.
If approved, a Payment Approved screen displays on the device, prompting the buyer to choose a receipt option: Print, Email, Text, or No Receipt.

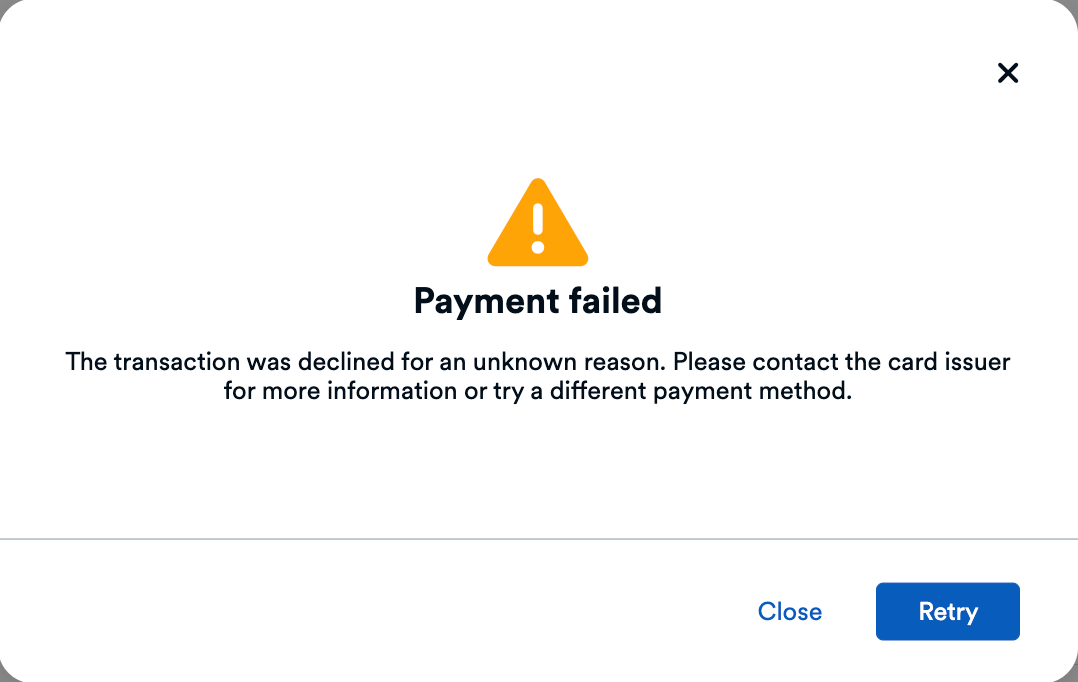
If the payment fails, the dashboard displays an error:
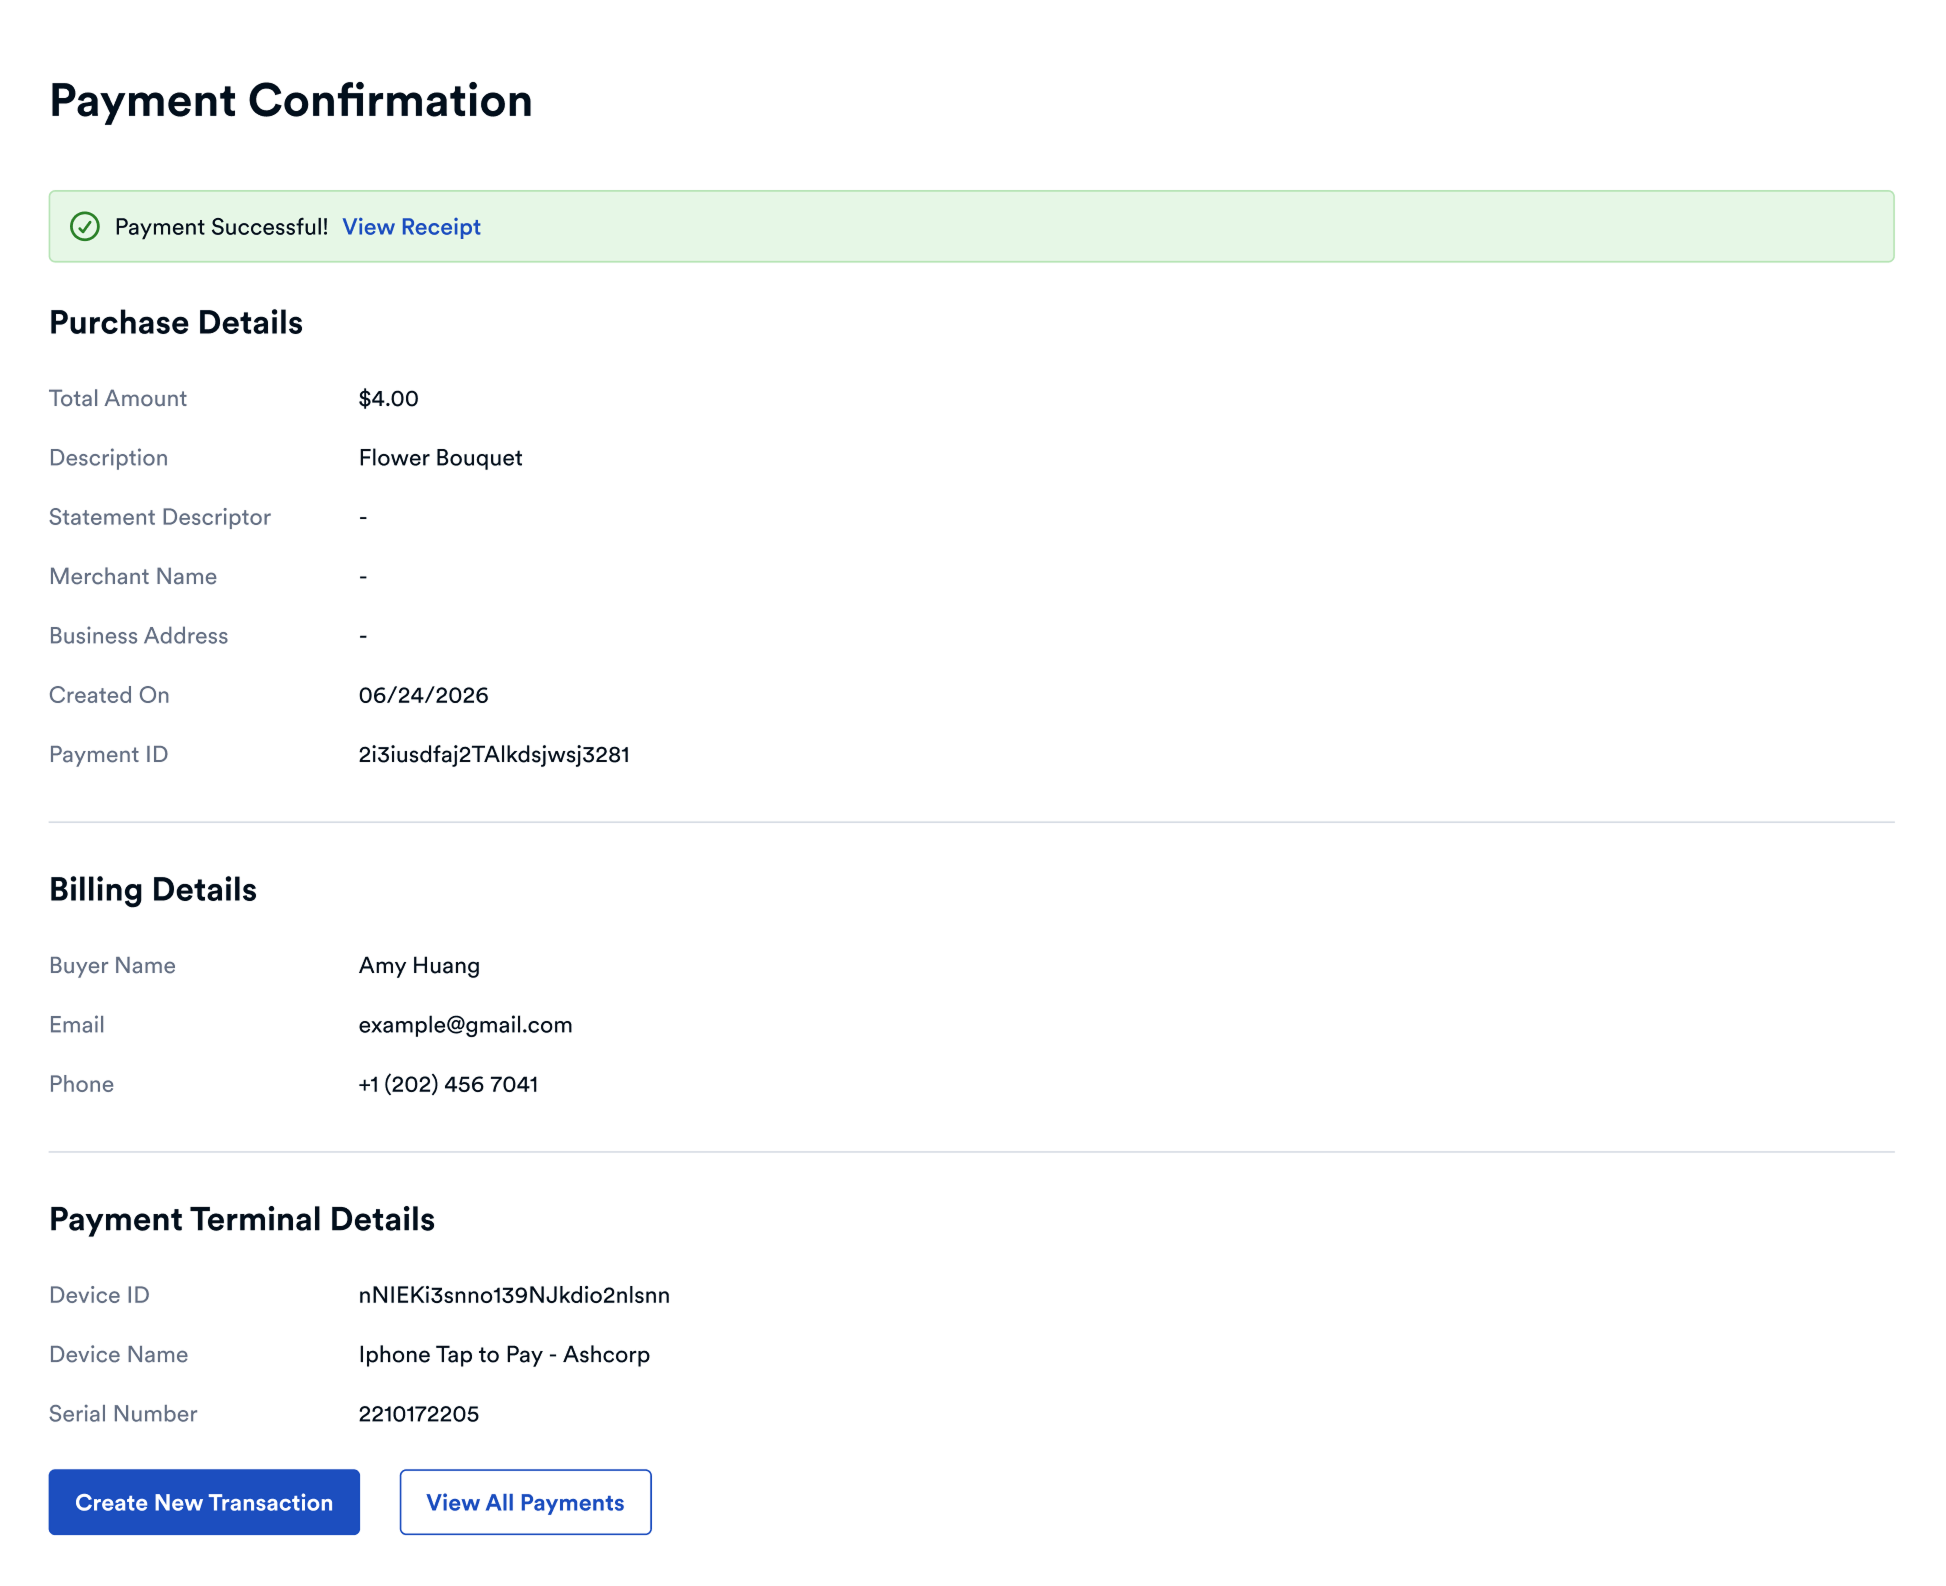
On the dashboard, a confirmation page displays a Payment ID you can use to manage the transaction as well as payment device details.