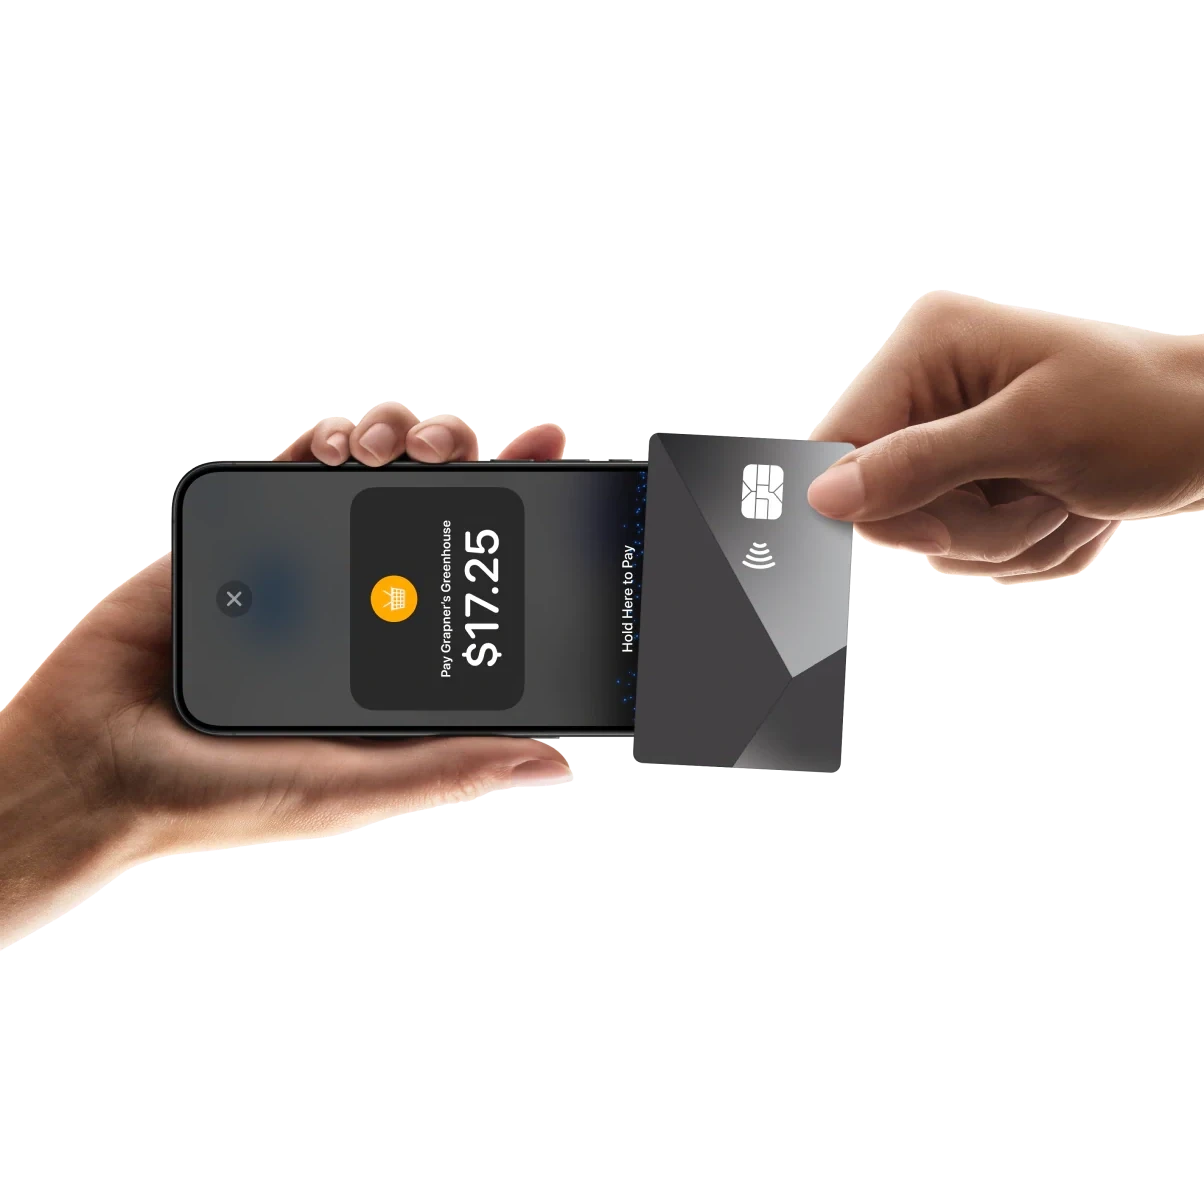
Accept in-person contactless payments on iPhone with no extra hardware. FinixTapToPaySDK is built on Apple's Tap to Pay on iPhone technology and handles the full payment through Finix. Your app starts a transaction, the Buyer taps a card or digital wallet on the merchant's iPhone, and the SDK returns a completed Finix Transfer.
This section is for developers integrating FinixTapToPaySDK into their own iOS app. To accept Tap to Pay on iPhone payments without writing code, see Accept Payments with Tap to Pay on iPhone in the Finix Checkout app.
- Your app starts a transaction with an amount and a transaction type.
- The SDK presents Apple's secure card-reading sheet and the Buyer taps a card or device. The card read happens entirely inside Apple's Tap to Pay on iPhone technology, so your app and the SDK never see raw card data.
- The SDK submits the payment to Finix itself and waits for the outcome. You do not make a separate API call to create the
Transfer. - The SDK returns a
TapToPayTransactionResultwith the FinixTransferID, its state, and masked card details.
Throughout the transaction, the SDK publishes progress events (card reading, processing, success or failure) that you can use to drive your UI.
The SDK source is available on GitHub.
The SDK handles:
- Apple's Tap to Pay on iPhone session and card-reading UI.
- Presenting Apple's Terms and Conditions when you link the merchant's Apple Account.
- Authentication with Finix and secure token lifecycle. You never handle tokens.
- Submitting the
Transferto Finix and returning the outcome. - Progress events for your transaction UI.
Your app builds:
- The Apple entitlement setup and App Review requirements. See Prepare for App Review.
- Merchant onboarding, education, and enablement screens.
- The checkout button and the processing and outcome screens around a transaction.
- Digital receipts.
- Device provisioning against the Finix API, typically from your backend. See Set up a Device.
| Requirement | Value |
|---|---|
| Device | iPhone XS or later. |
| iOS version | 18.1 or later. |
| Passcode | A device passcode must be set (Settings ▸ Face ID & Passcode). Tap to Pay on iPhone can't link an account or accept payments on an iPhone without one. |
| Testing | Physical iPhone required. The simulator cannot accept taps. |
Tap to Pay on iPhone is not available on iPad.
| Requirement | Value |
|---|---|
| Xcode | 16.0 or later. |
| Swift | 5.9 or later. |
- Membership in the Apple Developer Program with an organization account.
- The Tap to Pay on iPhone entitlement,
com.apple.developer.proximity-reader.payment.acceptance, granted by Apple. See Apple entitlement setup.
- A Finix account with access to the Finix Dashboard.
- API credentials (username and password) for the environment you are targeting.
- An approved merchant. You need its
MerchantID (MUxxxxxxxxxxxxx), its processing MID, and its display name. - An activated Finix
Deviceresource representing the iPhone, created in Set up a Device.
Finix Sandbox and Production are independent environments with their own credentials and merchants. The environment is explicit in the SDK configuration (.sandbox or .production), and a configuration's credentials, Merchant, and Device must all belong to the same environment. All examples in this guide run against Sandbox. See Credentials and environments for details.
Work through the parts of this guide in order. Each step links to the section that covers it.
- Confirm the system requirements: iPhone XS or later, iOS 18.1 or later, a device passcode set, and a physical device.
- Request the Apple entitlement and configure your Xcode project. See Apple entitlement setup.
- Gather your Finix Sandbox API credentials and merchant details. See Credentials and environments.
- Create a Finix
Devicefor the iPhone. See Set up a Device. - Add the SDK package, build a configuration, and initialize the SDK. See Installation and initialization.
- Link the merchant's Apple Account. See Account linking.
- Warm up the reader. See Prepare the reader.
- Take a payment and handle the result. See Transactions.
- Test end to end, review privacy disclosures, and prepare your App Review submission. See Test your integration, Privacy and data collection, and Prepare for App Review.
Each of these is covered in more detail in the linked section.
- Warm up the reader before the first tap. Prepare the reader at app launch or when the app returns to the foreground, and enable
autoPrepareOnForegroundso an existing session is re-prepared automatically. See Prepare the reader. - Gate every entry point on
FinixTapToPay.isSupported(). This keeps the Tap to Pay on iPhone button hidden on devices that can't use it. - Subscribe to transaction events before starting a transaction, and show your processing screen immediately. Apple expects your UI to respond within about a second of the merchant starting a payment. See Subscribe to transaction events.
- Create the
Deviceonce and cache its ID. Provision it from your backend and reuse the stored ID on every launch instead of creating duplicates. See Cache and reuse the Device ID. - Deliver credentials from your backend instead of embedding them in the app binary. See Keep credentials off the client.
- Build Apple's user-experience requirements in from the start. Follow the Human Interface Guidelines, use Apple's built-in merchant education UI on iOS 18+, and keep the checkout button prominent and always visible. Retrofitting these requirements later often delays App Review. See Prepare for App Review.
- Test on a physical iPhone running a release version of iOS. The simulator cannot accept taps, and Tap to Pay on iPhone does not work on iOS beta releases. See Test your integration.
Next: Apple entitlement setup.