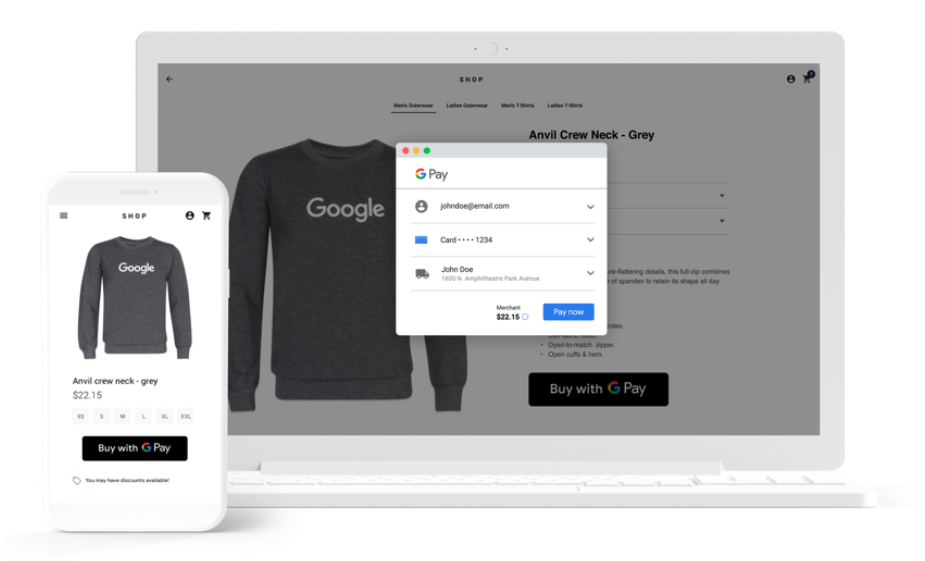
Images courtesy of Google Developers
You can easily enable Google Pay on your website or Android application using the Finix API. With a few steps, you can start accepting payments from any debit or credit card your customers have saved to their Google account—providing them with a faster, more secure, and seamless checkout experience.
Simplify and speed up the checkout experience with Google Pay as the default payment method. By offering Google Pay as a prominent option, you reduce friction, minimize cart abandonment, and drive higher conversion rates.
Google Pay provides built-in security features that go beyond traditional credit, debit, or prepaid cards—helping you protect customer data and build trust at every transaction.
- Create a Finix API Key.
- The seller must complete the onboarding process. After approval, they will have an approved
Merchant.
- Review Google Pay's Acceptable Use Policy
- Your website must be served on an HTTPS webpage that has a valid SSL certificate and supports TLS. Refer to the following articles for requirements:
- Set up a Google Pay Merchant Account
- Review Google Pay's developer documentation to gain production access to the Google Pay API
- Register with Google Pay Business Console to set up a merchant account
- Choose your platform
- For Web integrations: Google Pay for Payments (Web)
- For Android integrations: Google Pay for Payments (Android)
The merchantIdentifier value corresponds to a merchant identity begining with a prefix IDxxx. There are two options for which value to pass in.
If the Apple Pay button will be hosted on your domain, use your application identity ID here. This flow is common if you have just website hosting all of your checkout flows.
This is the default option for Direct Merchants and most Platforms. You can find the Application Owner Identity ID from the merchant#identity resource you use to generate payments.
If you are a Platform that hosts websites on custom urls, you should provide the owner identity of your merchants. An example would be a Platform creating websites for their sellers all hosted on custom urls. We recommend reaching out to our support team if you have a flow that fits this criteria.