Skip to content

Managing White-Labeled Seller Dashboards

Merchant dashboards allow sellers to view and manage their own data while remaining scoped only to their account. These dashboards can be fully white-labeled, allowing you to customize the branding, colors, logo, and even the subdomain to provide a seamless, on-brand experience for your sellers.

White-Labeling the Finix Dashboard

Finix dashboards can be fully white-labeled, giving you flexibility to align the experience with your brand. You can combine our dashboards with our white-labeled no-code/low-code products to deliver a comprehensive white-labeled experience.

Customizing the Dashboard

  1. Login to your the Dashboard.
  2. Navigate to Settings → Company → Branding → Dashboard.
  3. Customize the colors, logo, and subdomain to match your brand.

Branded Dashboard

Dashboard Colors

Finix allows you to brand the dashboard with a primary sidebar color, secondary sidebar color, and highlight color to match your company’s visual identity.

Finix also allows you to upload a logo your sellers can see prominently when they login to the dashboard.

Dashboard Subdomain

You can configure a subdomain your sellers can always access the dashboard from. This url will contain your logo and ensure a fully white-labeled experience to your sellers.

Example Subdomain
{your-subdomain}.payments-form.com

Adding Sellers to the Dashboard

Step 1: Navigate to the Merchant Account

As a platform, you can invite merchants to access their dashboard directly from your Dashboard.

  1. From the side navigation bar, select Merchants.
  2. Click Merchant Accounts.
  3. Select the merchant you want to grant dashboard access to.

Merchant Account

Step 2: Open Merchant Identity Page

Within the merchant account, select Merchant Identity at the top of the page.

Merchant Identity

Step 3: Access the Team Settings

  1. From the Merchant Identity view, navigate to the Team tab.
  2. Select Team Members.
  3. Click Add New Team Member.

Team Tab

Step 4: Add a Merchant Team Member

  1. Enter the email address of the merchant user you want to invite. You can invite multiple users here.
  2. Assign an appropriate role to define their dashboard permissions. Roles determine what actions a merchant user can perform in the dashboard. Learn more about role-based permissions, here.
  3. After the team member is added, the user will receive an email invitation to set up their dashboard access.

Add team member

Step 5: Merchant Dashboard Experience

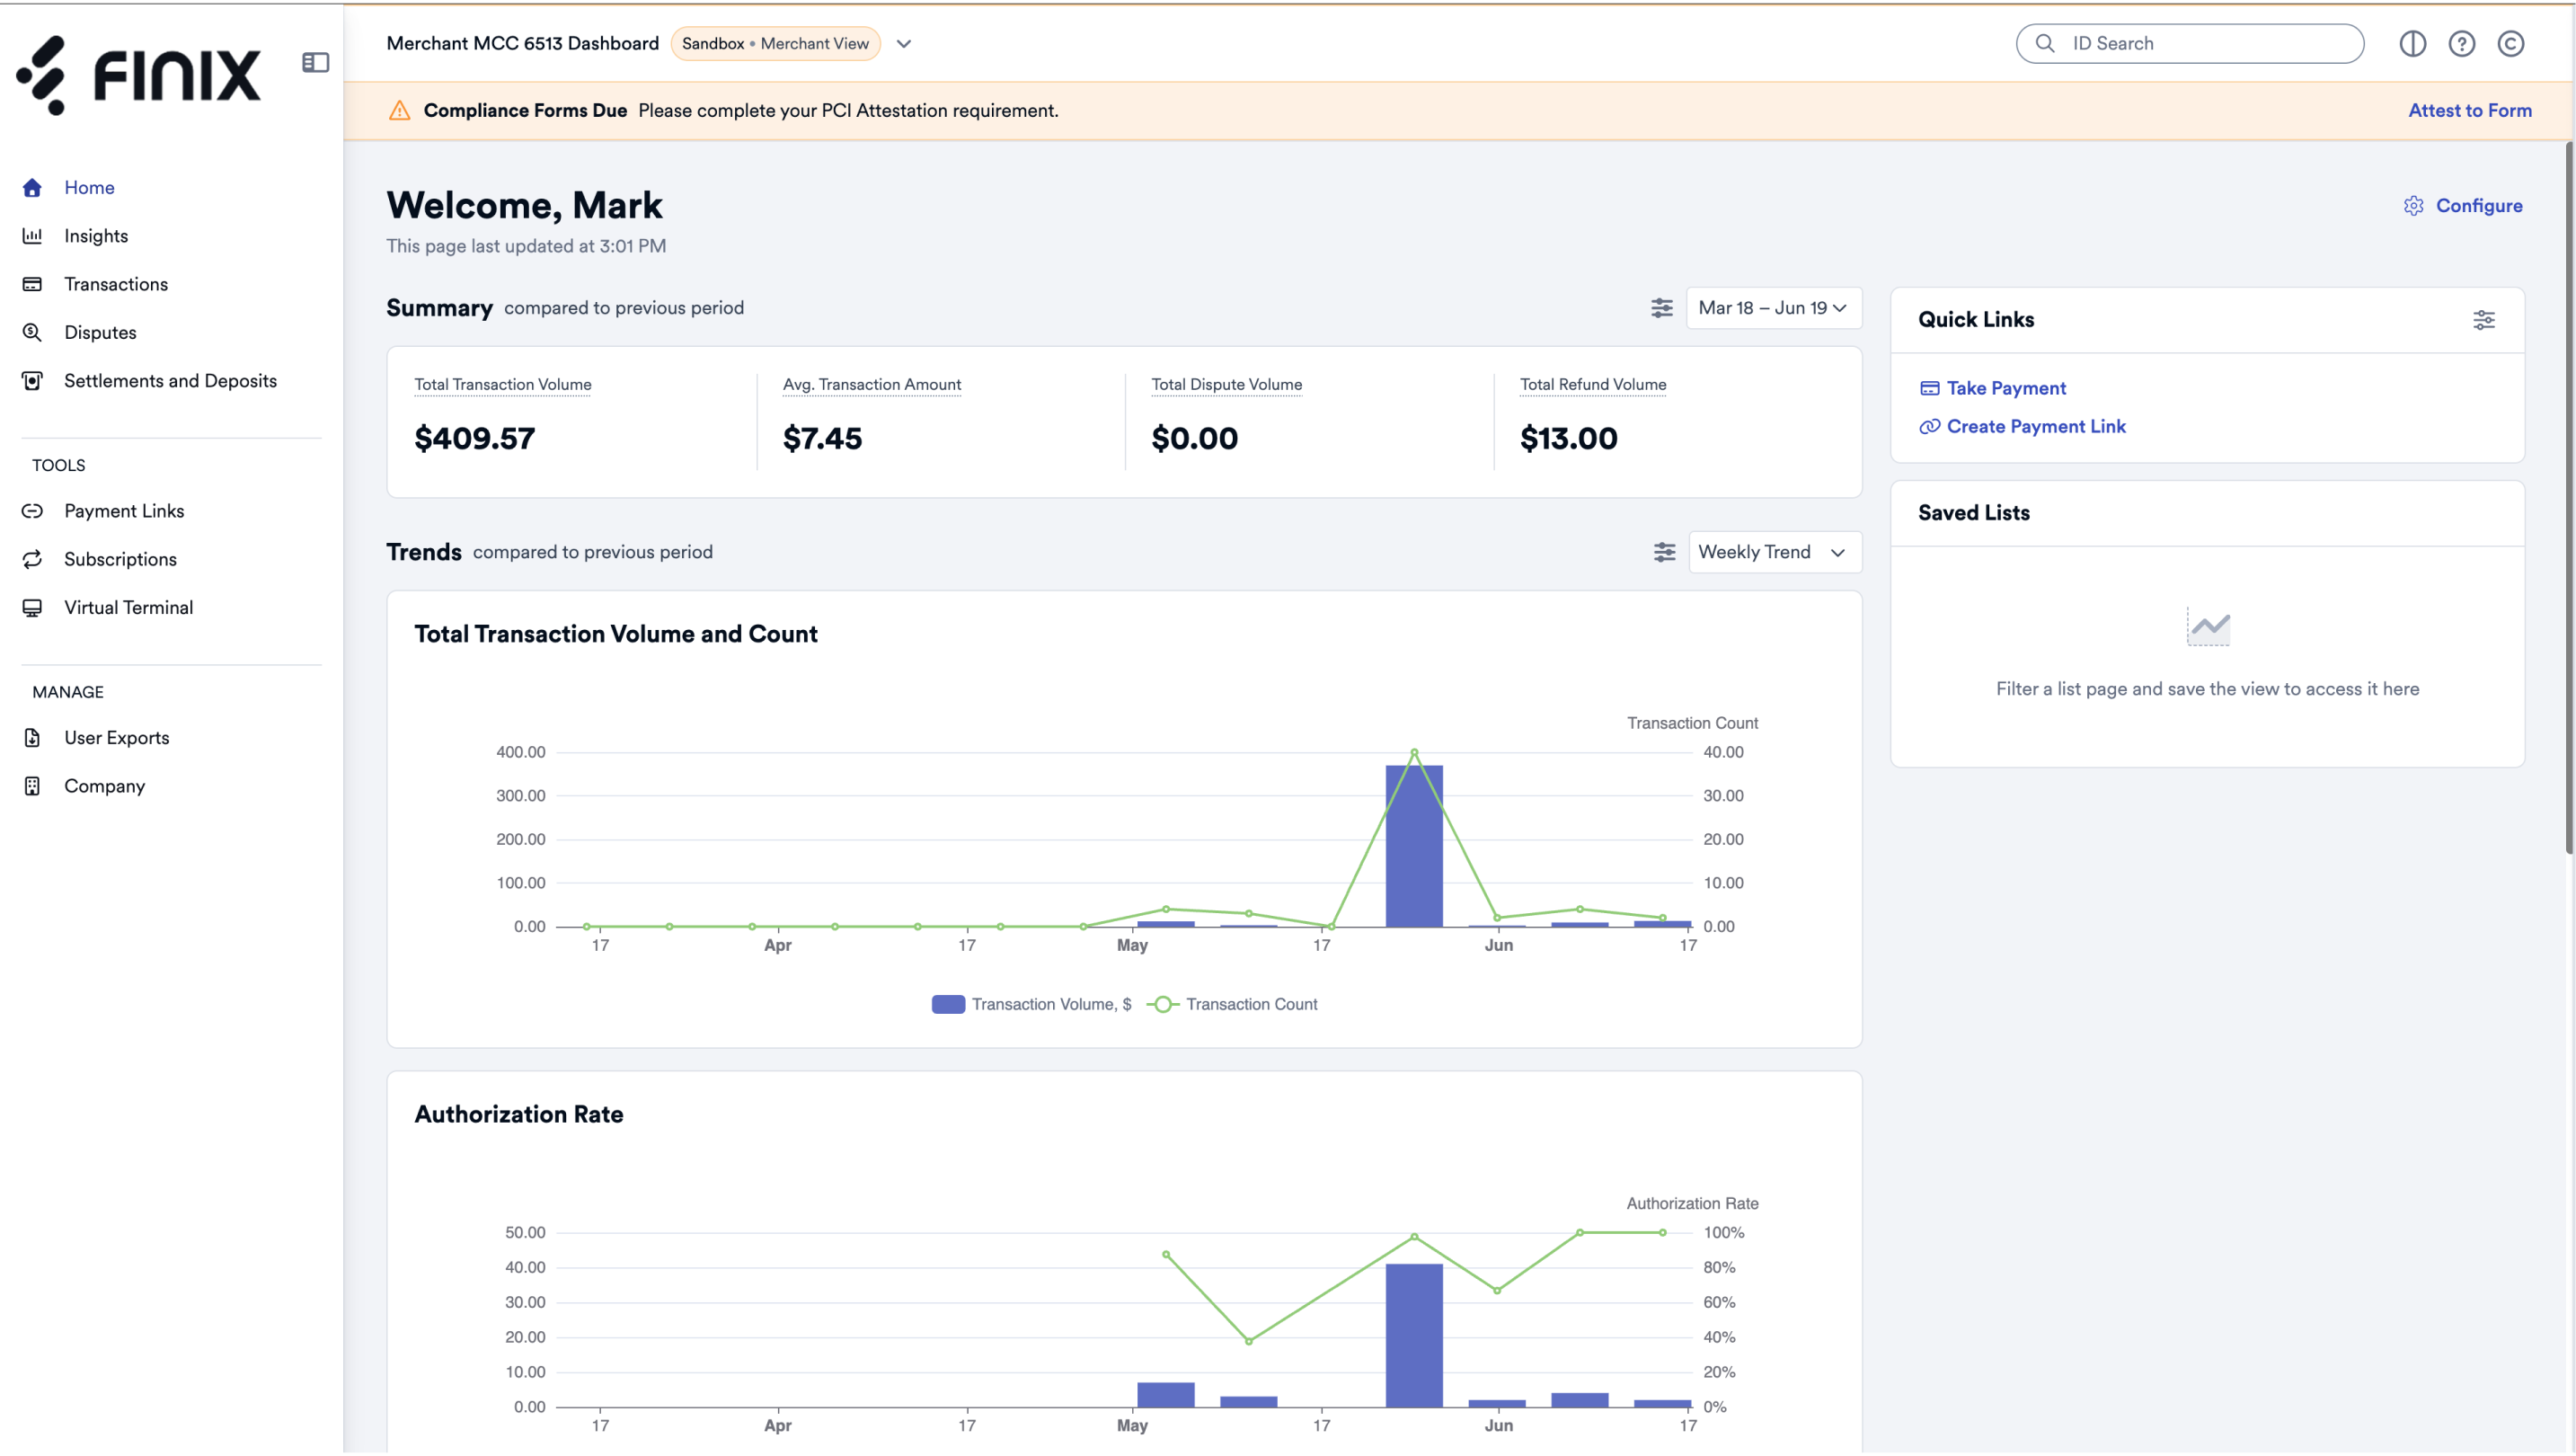
After accepting the invitation, the merchant will have access to their own Finix Dashboard.

  • The layout and navigation are similar to the platform's dashboard
  • Data and functionality are limited to the seller merchant’s own account
  • Seller merchants cannot view or access other merchants or platform level settings

Merchant Dashboard